Two Methods for Cutting Decorative Sheets
This page introduces basic cutting methods for decorative films, including Cutting Sheet®. While small, simple designs can be easily cut by hand
, for complex or large designs
, you should submit your design data and have the work done by an installation shop equipped with a cutting machine (plotter).
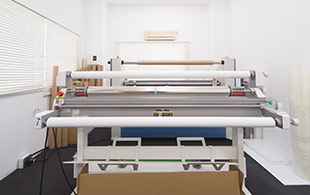
Cutting with a Cutting Machine
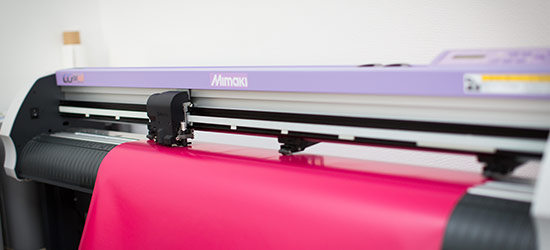
What is cutting with a cutting machine?
This refers to the method of cutting decorative sheets using a specialized machine. Even complex
designs can be cut accurately and quickly, precisely following the outlines and shapes specified in the data. Additionally, since no molds are required, this method reduces costs compared to techniques like die-cutting, and it can also be used to verify shapes during prototyping. Since cutting
machines are not specialized equipment, most installation shops that handle sheets have them. Please check with the shop you plan to hire
.
The Process of Cutting with a Cutting Machine
1. Submit the cutting data
Submit the data created in Illustrator or similar software to the installation company that owns a cutting machine.
(Please submit outline data.)
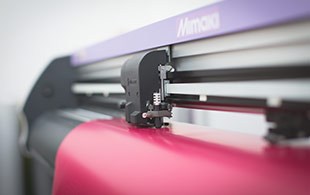
2. Cut with the plotter and remove the waste
Once the data is transferred to the plotter, the sheet is cut along the paths. The unwanted parts (scraps) are then removed.
3. Apply the release liner
Apply a retack sheet (application sheet) to facilitate the transfer of the vinyl when applying it. Inform the
installation company of the application location and substrate so they can apply the appropriate treatment.
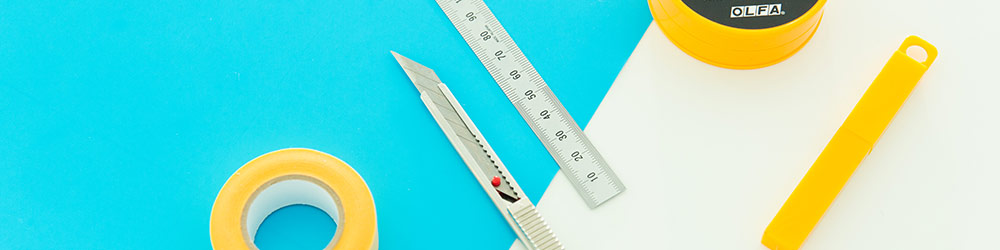
Cutting by Hand
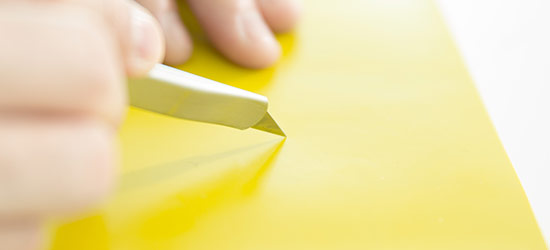
What is manual cutting?
This refers to the method of cutting decorative sheets by hand using a utility knife or similar tool, based on a full-scale printed template. For small or simple designs, cutting by hand can produce a beautiful finish.
[Required Tools]
● Full-scale template ● Cutting sheet ●
Cellophane tape ● Paper cement ● Utility knife ● Application
sheet (required only for complex shapes)
Steps for Hand Cutting
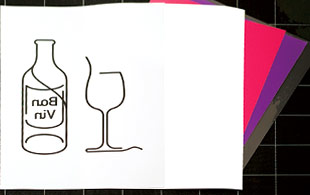
1. Prepare the necessary tools
Prepare the printed full-scale template and decorative sheets such as Cutting Sheet®. *For
IROMIZU only, please remove the protective film from the surface.
2. Attach the template
Apply paper cement evenly to the back of the template. Once dry, attach it to the cutting sheet.
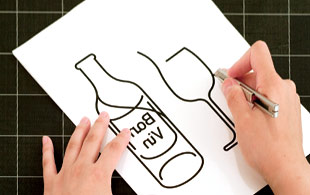
3. Cut the design
Use a craft knife to cut along the outline of the design. Be careful to cut only the decorative sheet and not the backing paper. *If you accidentally cut through the backing paper, reinforce it with cellophane tape.
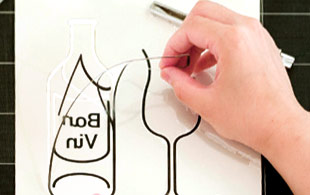
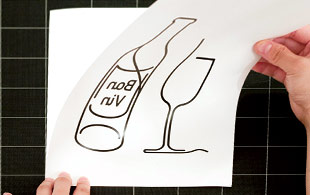
4. Peel off the attached design
Peel off the attached paper template, leaving only the desired design. This is your final chance to check for any areas you may have missed.
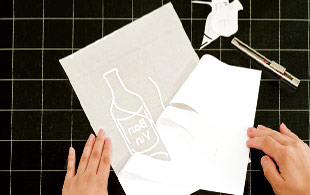
5. Remove the excess (peeling process)
Remove the unwanted parts (scraps) from the cutting sheet, leaving only the desired design. For simple designs, the cutting process is now complete.
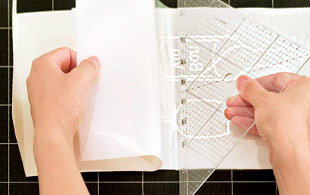
6. Apply the repositionable sheet
For complex shapes, apply a repositioning sheet over the cutting sheet after removing the excess material. This completes the cutting process. Next, proceed to the actual application process.