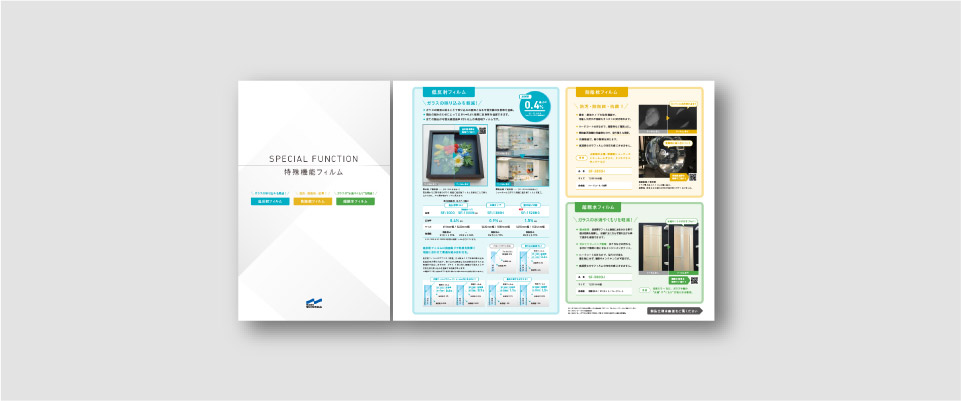


The “SF-1000” is an Anti-Reflective Film that significantly reduces glare on glass. To achieve
a beautiful finish, it’s important to follow the correct application procedure and keep a few key points in mind.
In this article, we’ll show you the application method for the SF-1000 on glass, complete with a video demonstration.
We Recommend the Water-Based Application Method for SF-1000
We recommend the water-based application method for SF-1000.
Using an application solution makes it easier to adjust the film’s position and minimizes the formation of air bubbles during application. Especially for large-scale applications, using a sufficient amount of the solution improves workability and leads to a beautiful finish.
Items to Prepare Before the Application
- SF-1000
- Application solution
- Spray bottle
- Squeegee
- Utility knife
- Masking tape
- Rag
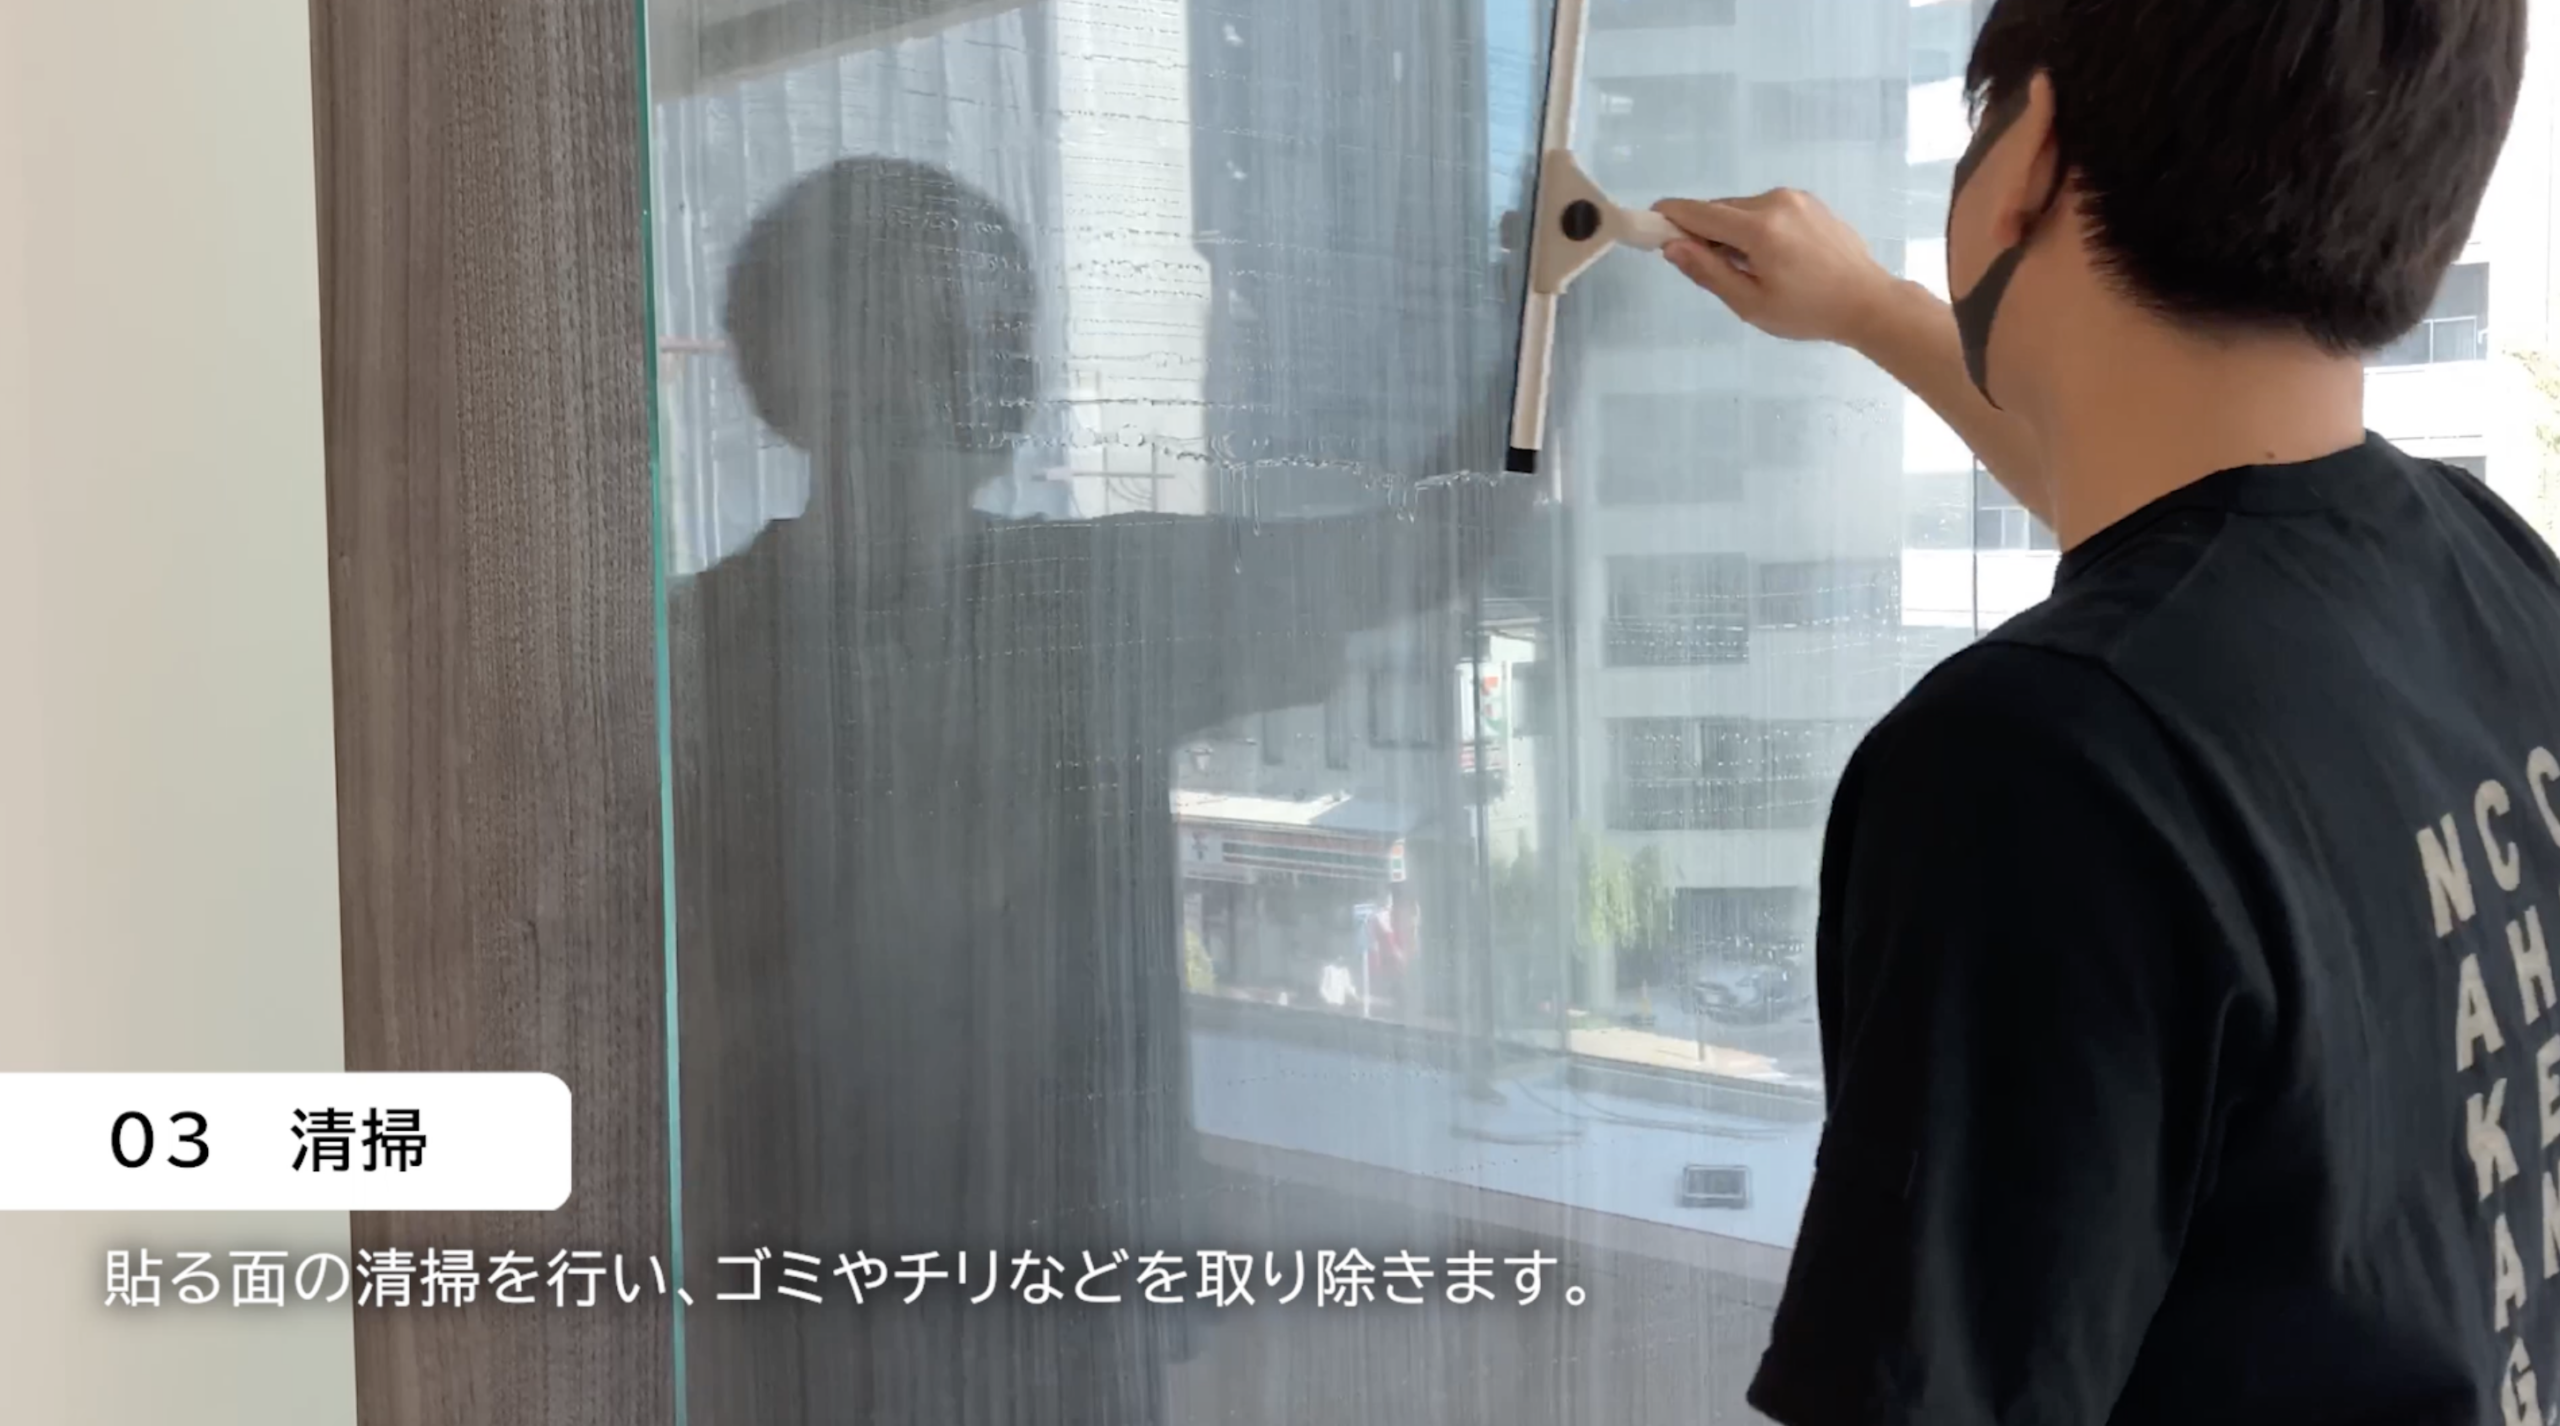
STEP 1: Clean the glass surface
Thoroughly remove any dust, oil, or dirt adhering to the glass surface. Even
small particles will stand out after the application, so careful cleaning is the first step toward a clean finish.
◉ Tip
- Clean all the way to the four corners of the glass
- Hold the glass up to the light to check for any remaining dust
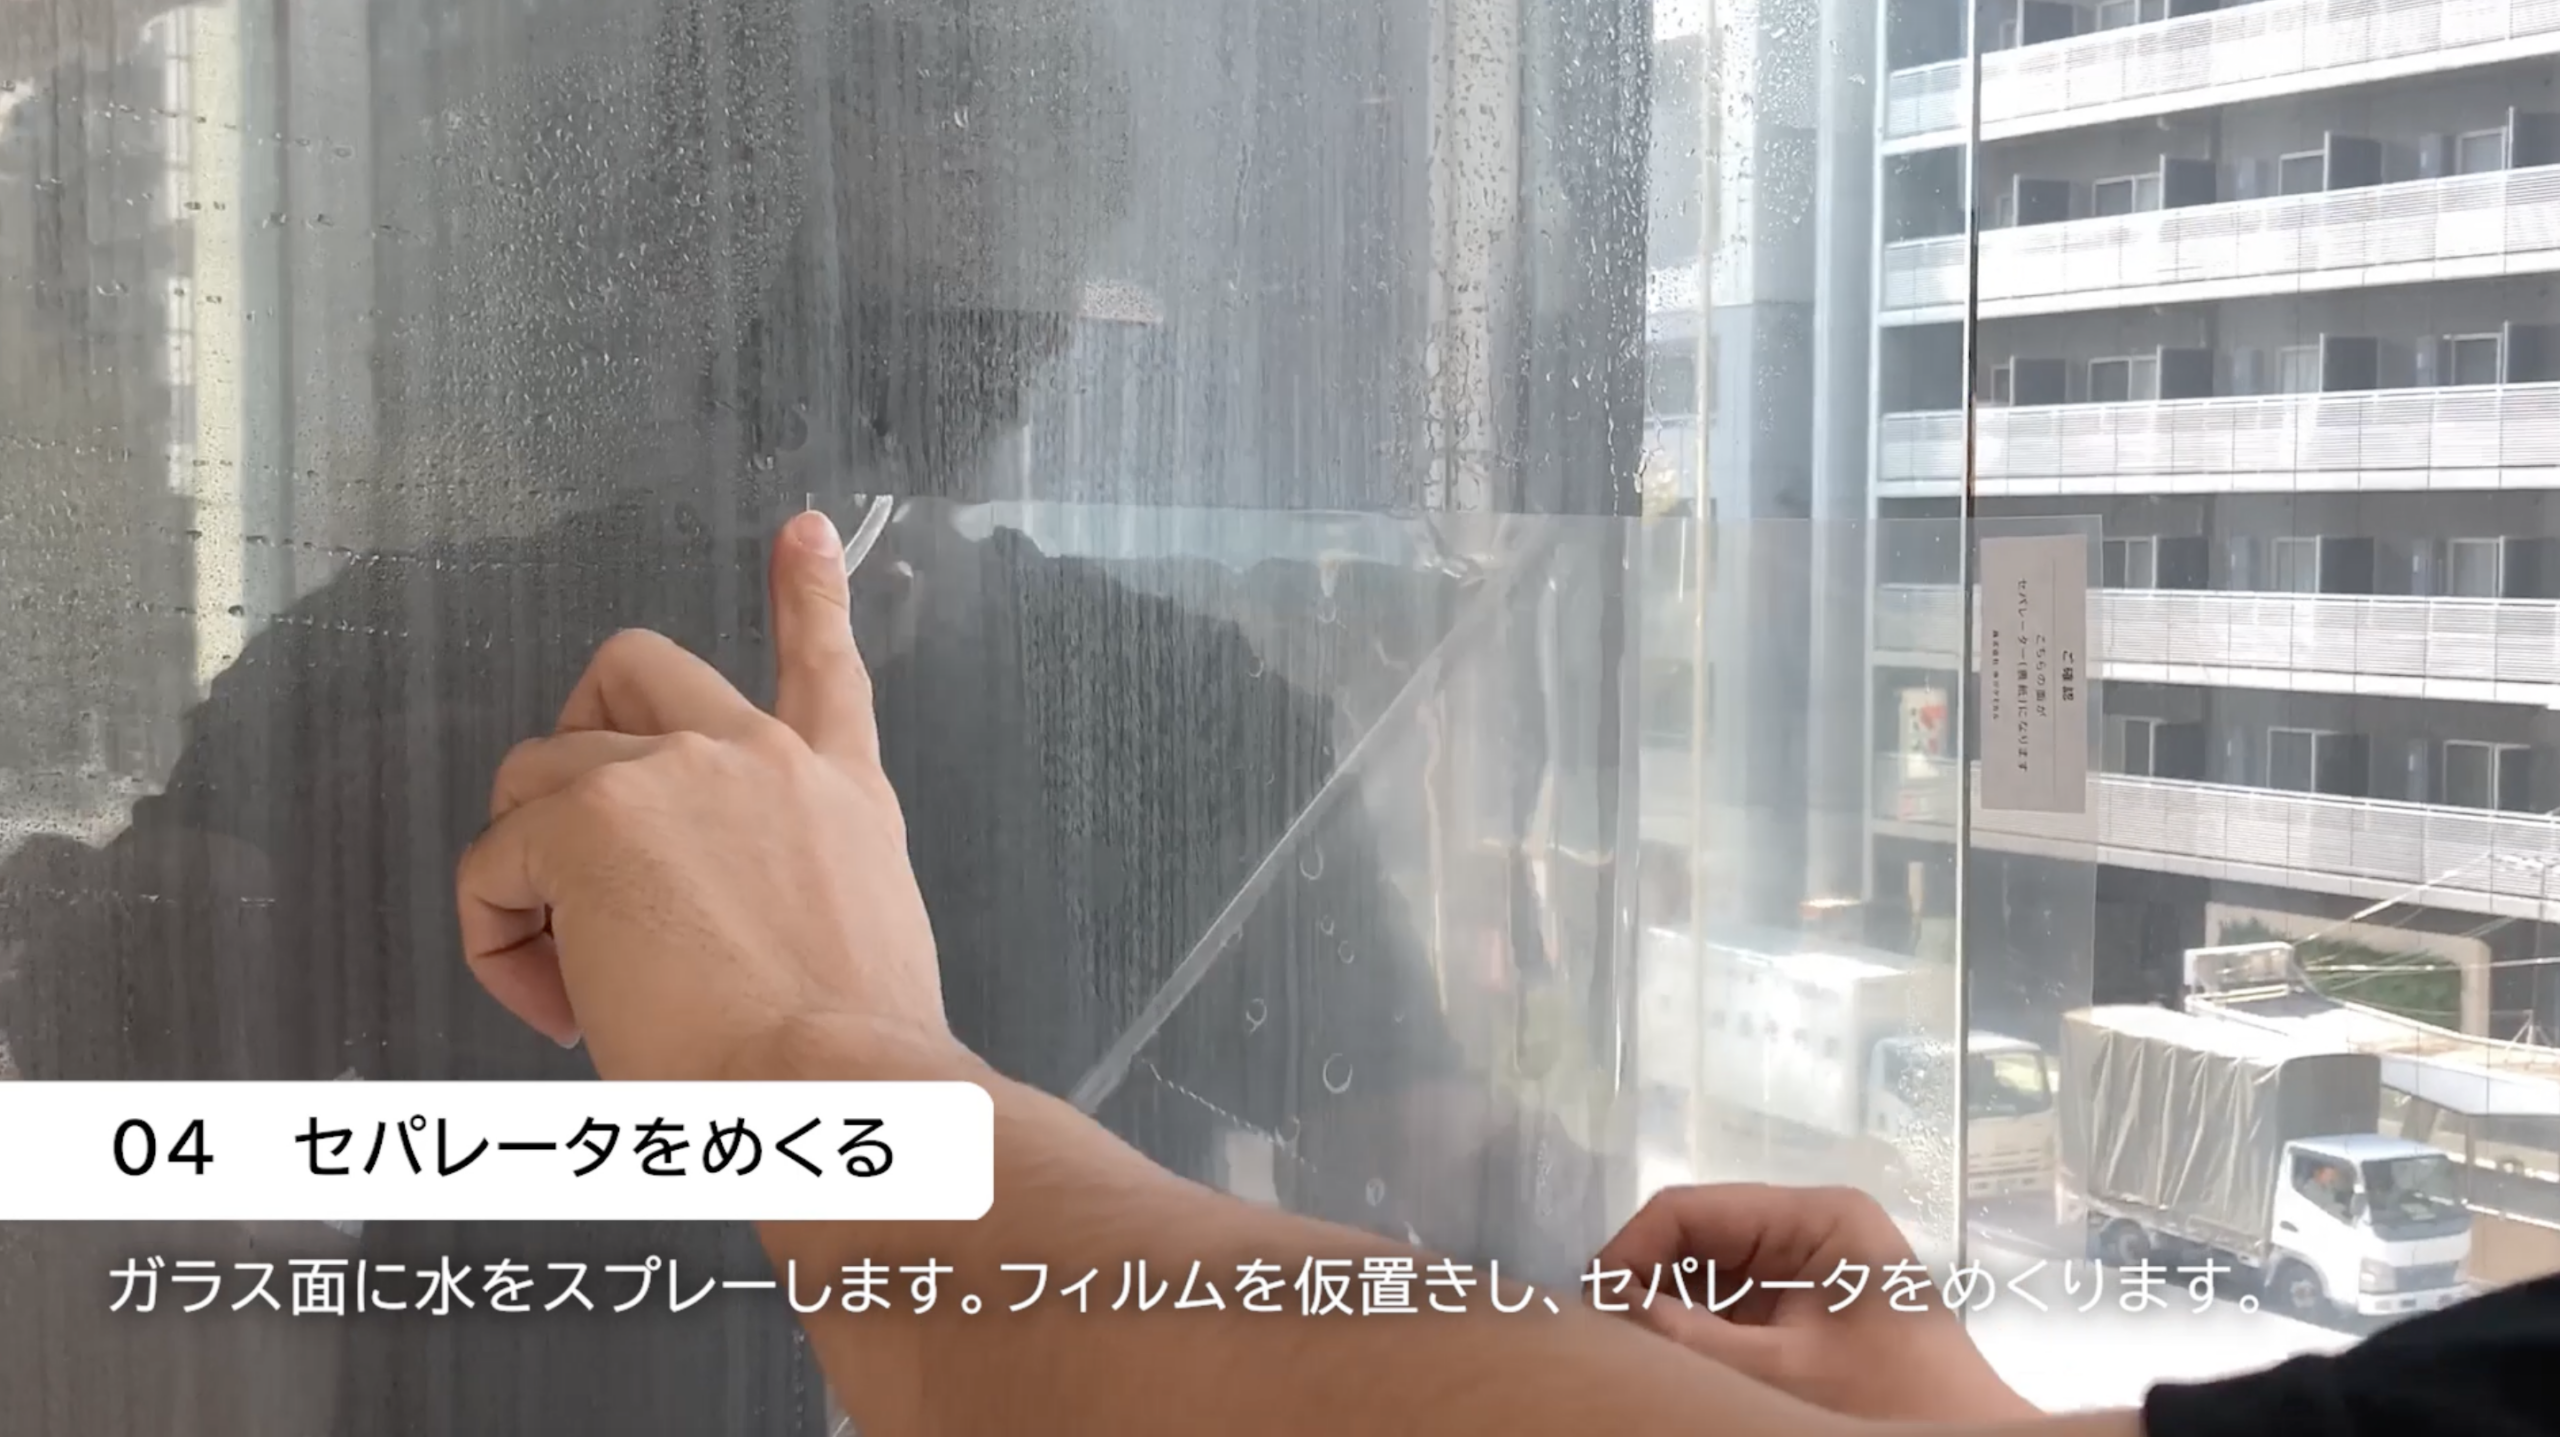
STEP 2: Peel Off the Separator
Slowly peel off the film’s release liner. Be careful not to
let dust adhere to the adhesive surface.
◉Tip
- Once you’ve peeled off the separator, spray the application solution as soon as possible.
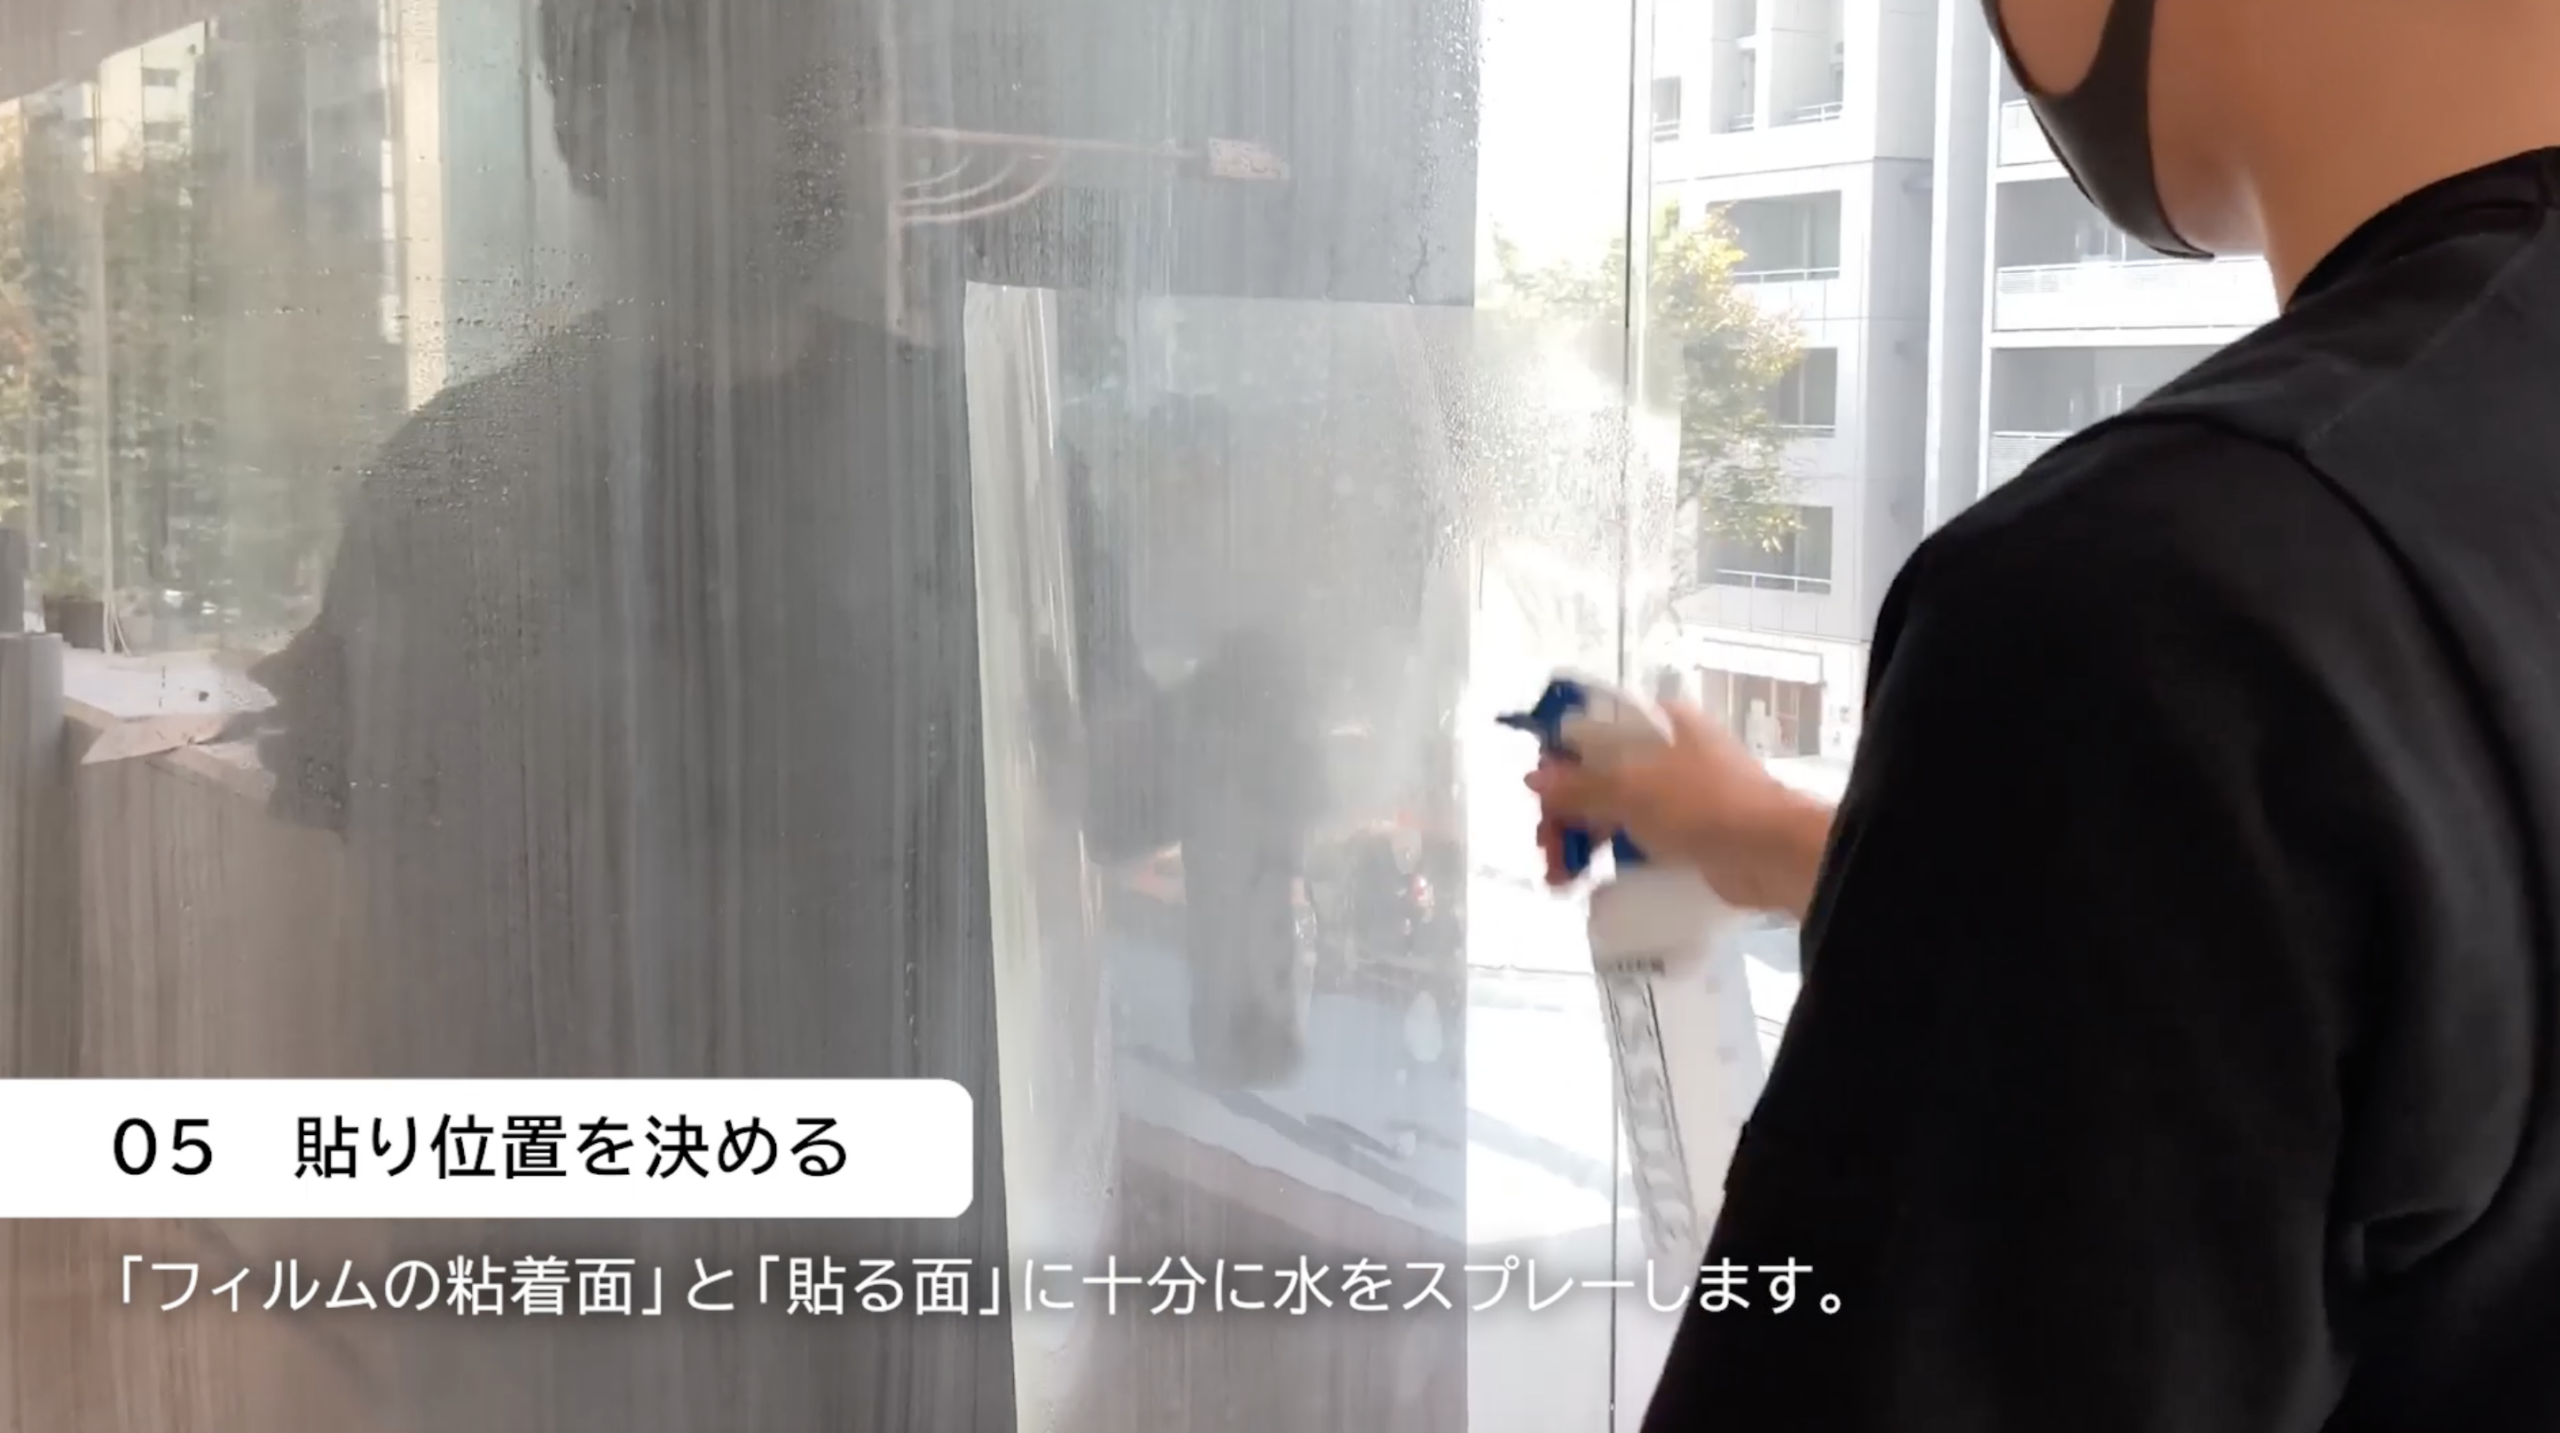
STEP 3: Spray the application solution onto the film
Spray a generous amount of application solution over the entire adhesive surface. If you use too little solution
, it will be difficult to adjust the film’s position, and it may cause air bubbles.
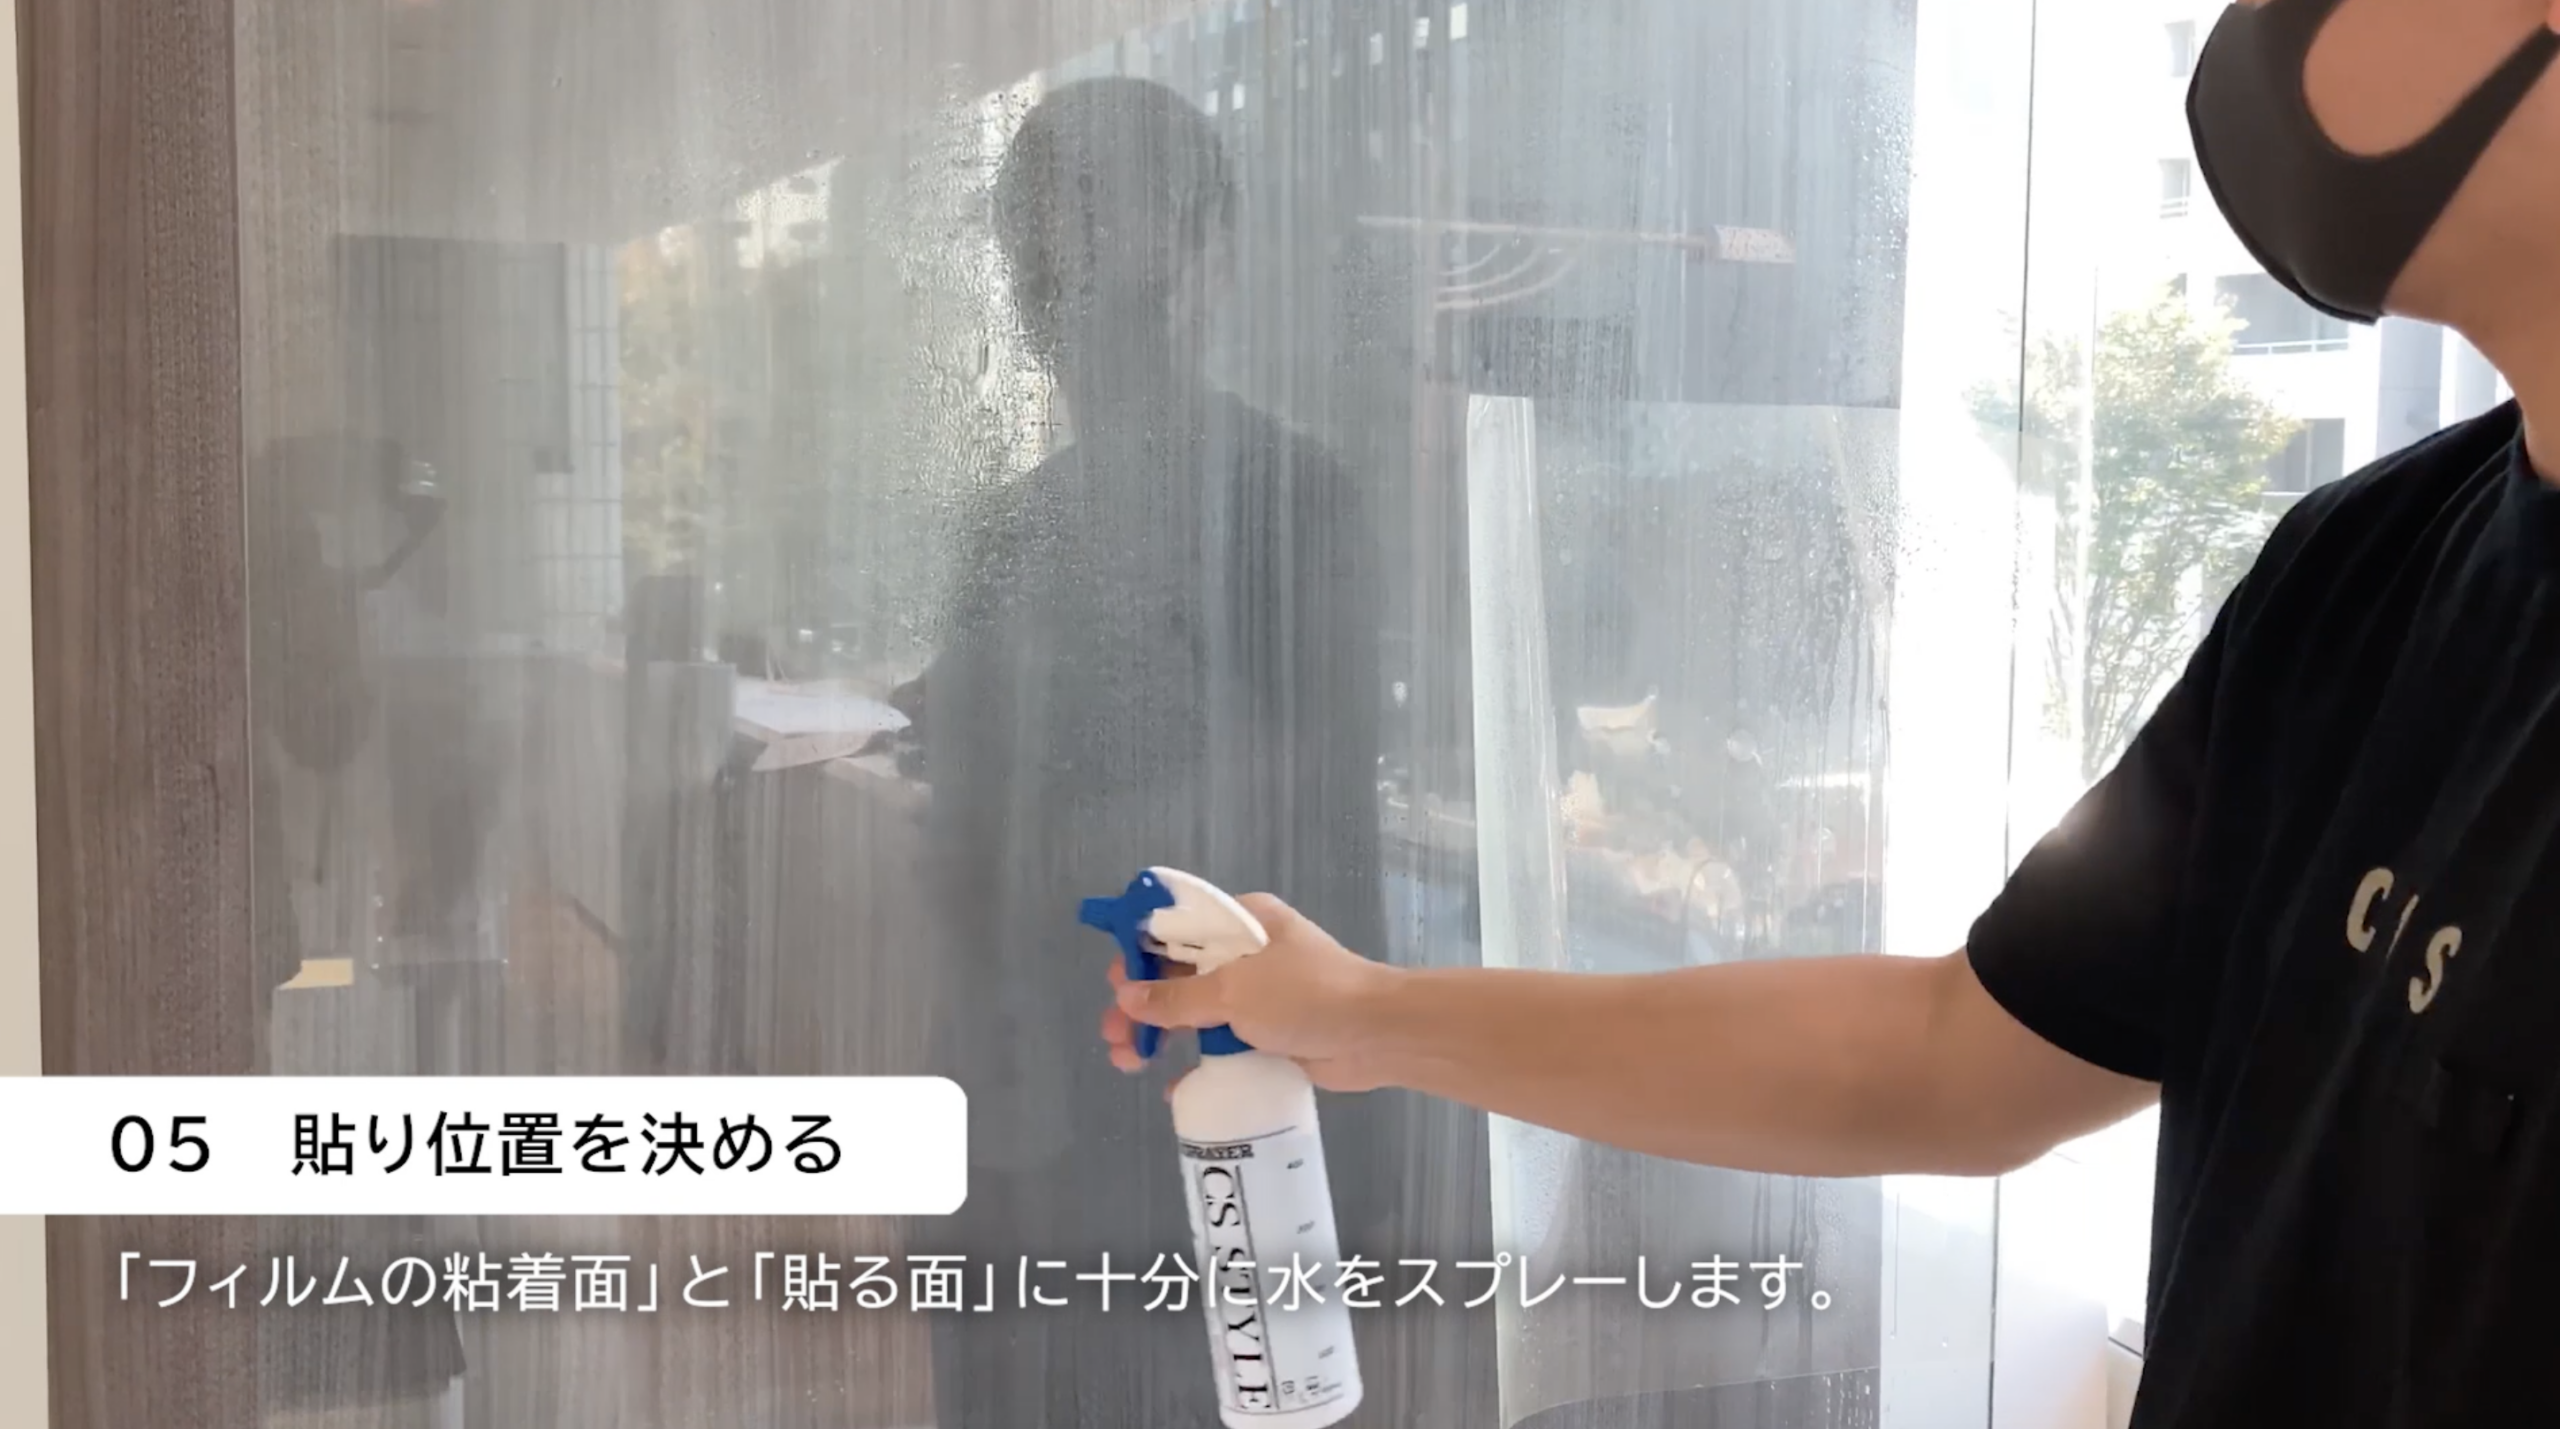
STEP 4: Spray the Application Solution onto the Glass Surface
Spray a sufficient amount of application solution over the entire glass surface as well. Applying the solution
to both the film and the glass allows for smooth alignment.
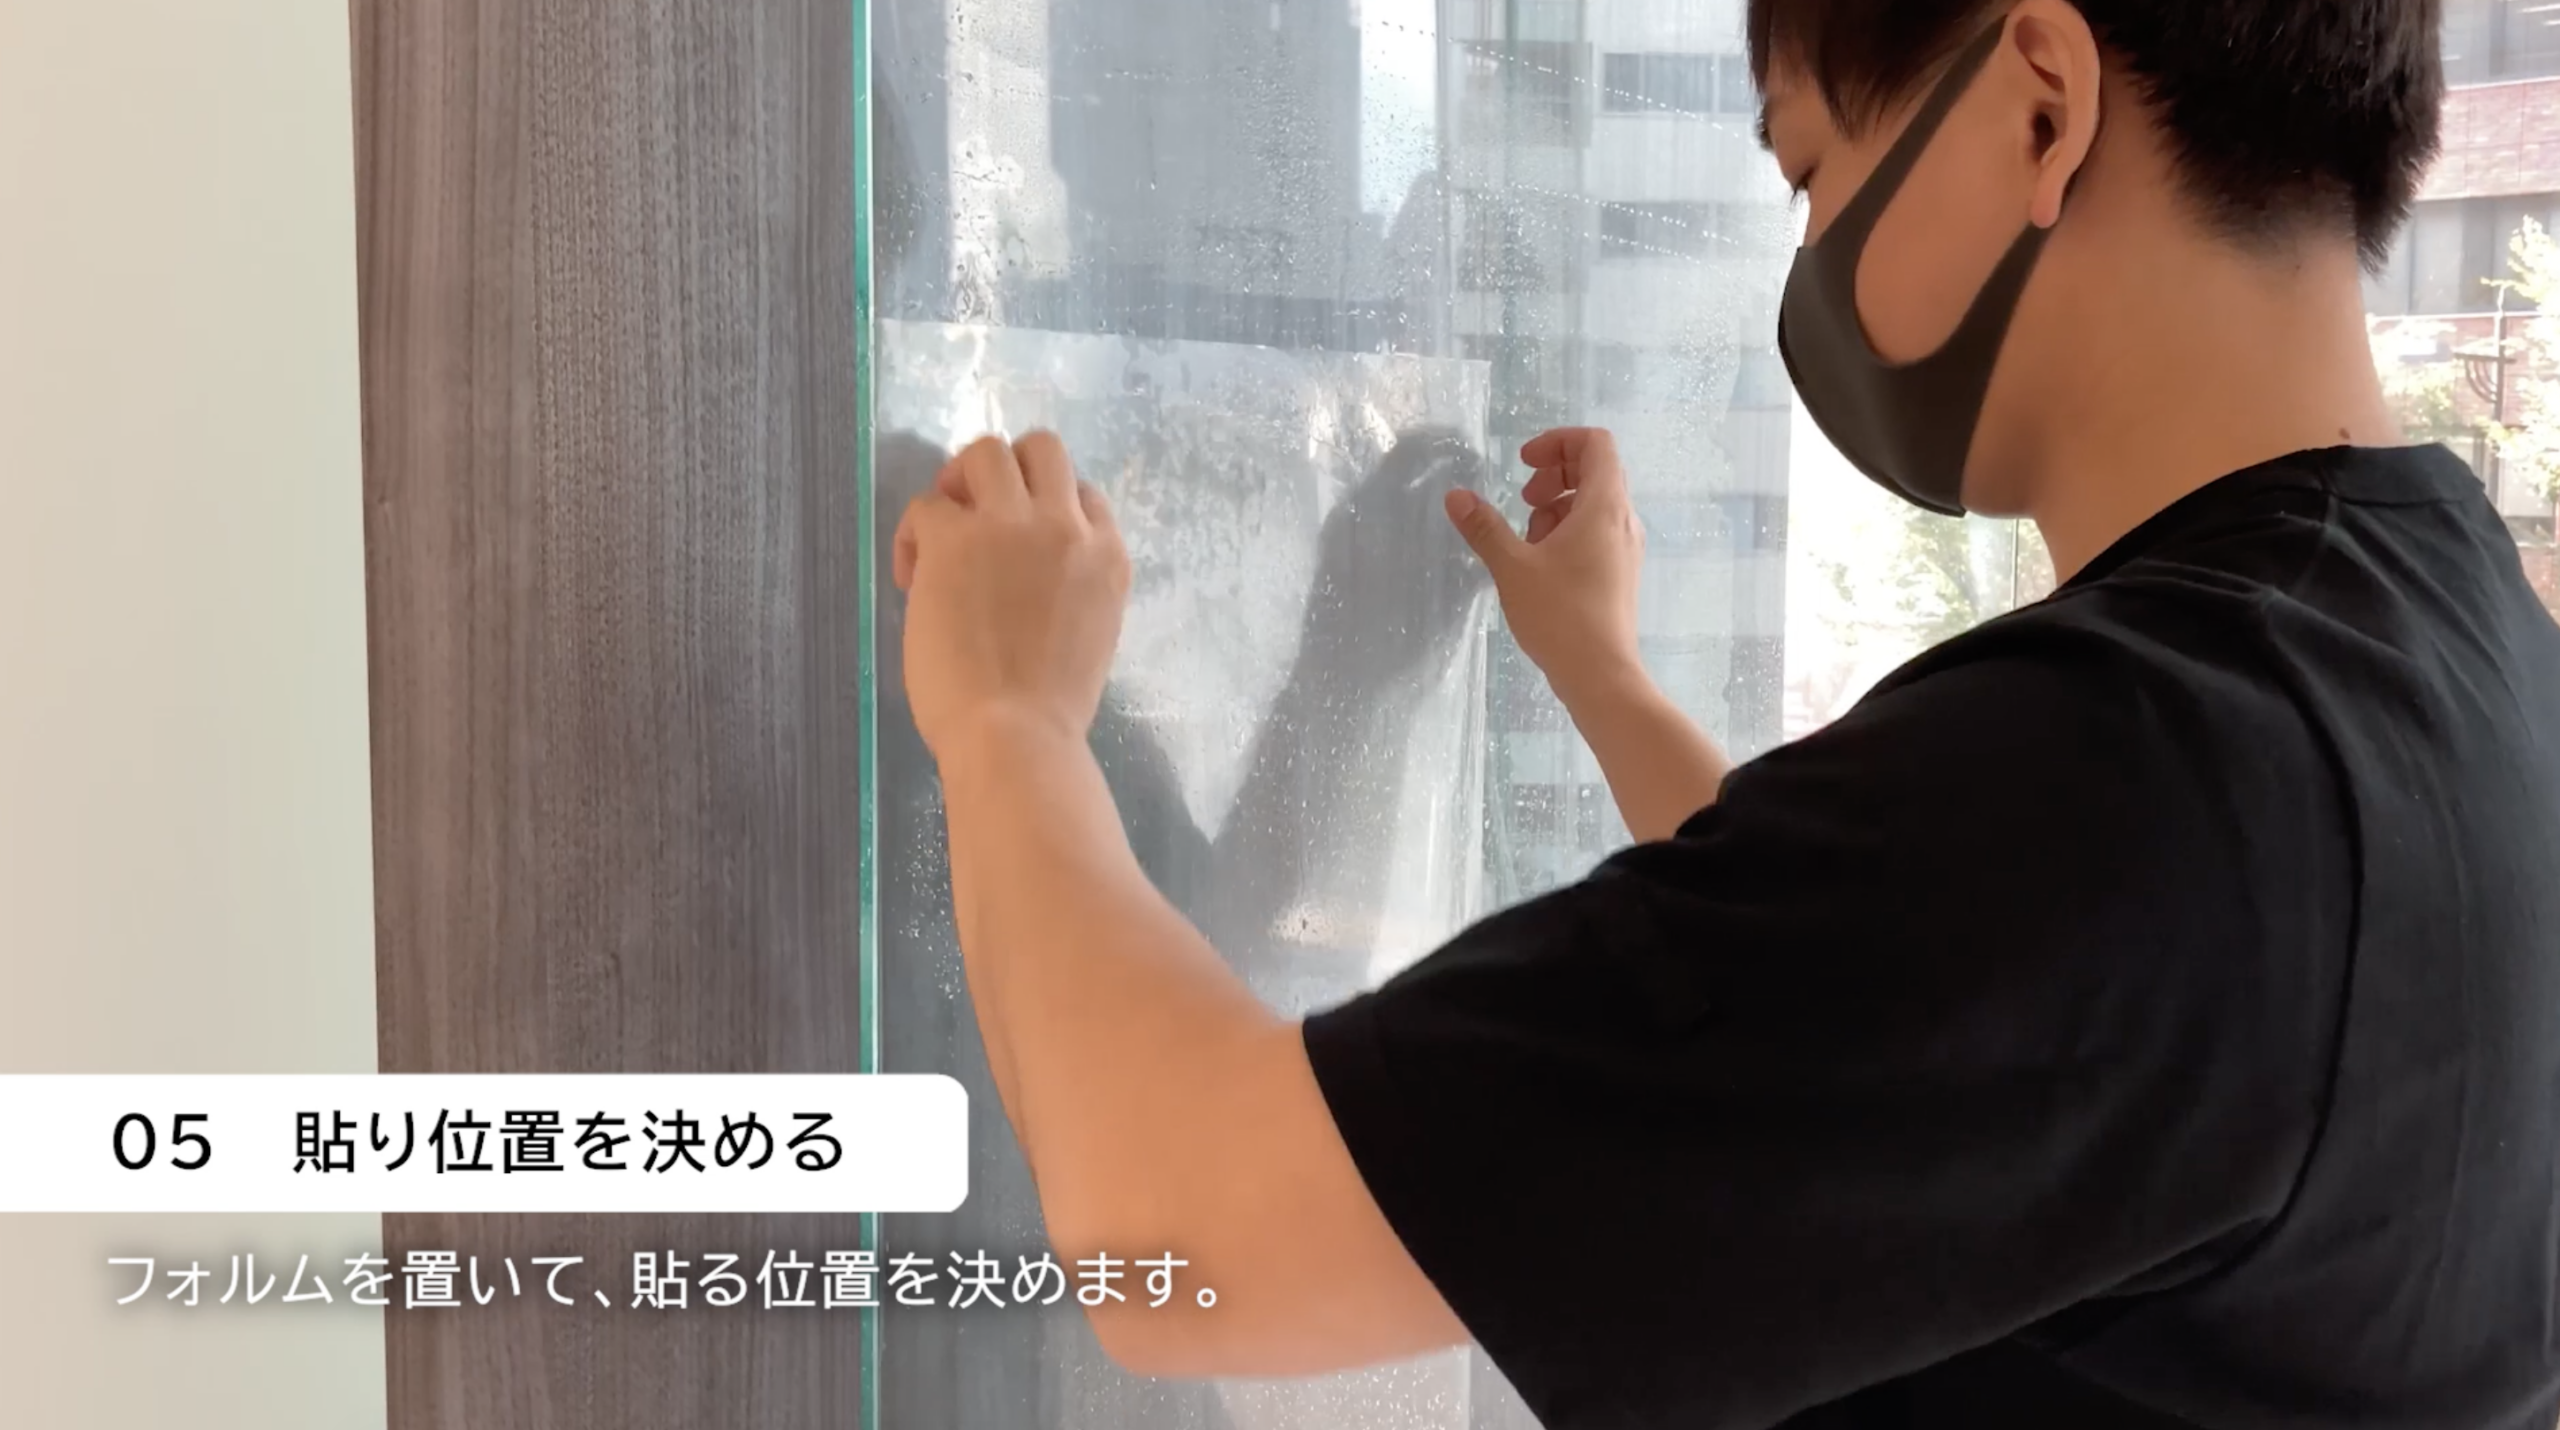
STEP 5: Align the Film
Place the film on the glass and adjust its position. Align it slowly while checking
the margins on all four sides.
◉Tip
- As long as there is enough application solution, you can adjust the position naturally without having to pull the film forcefully.
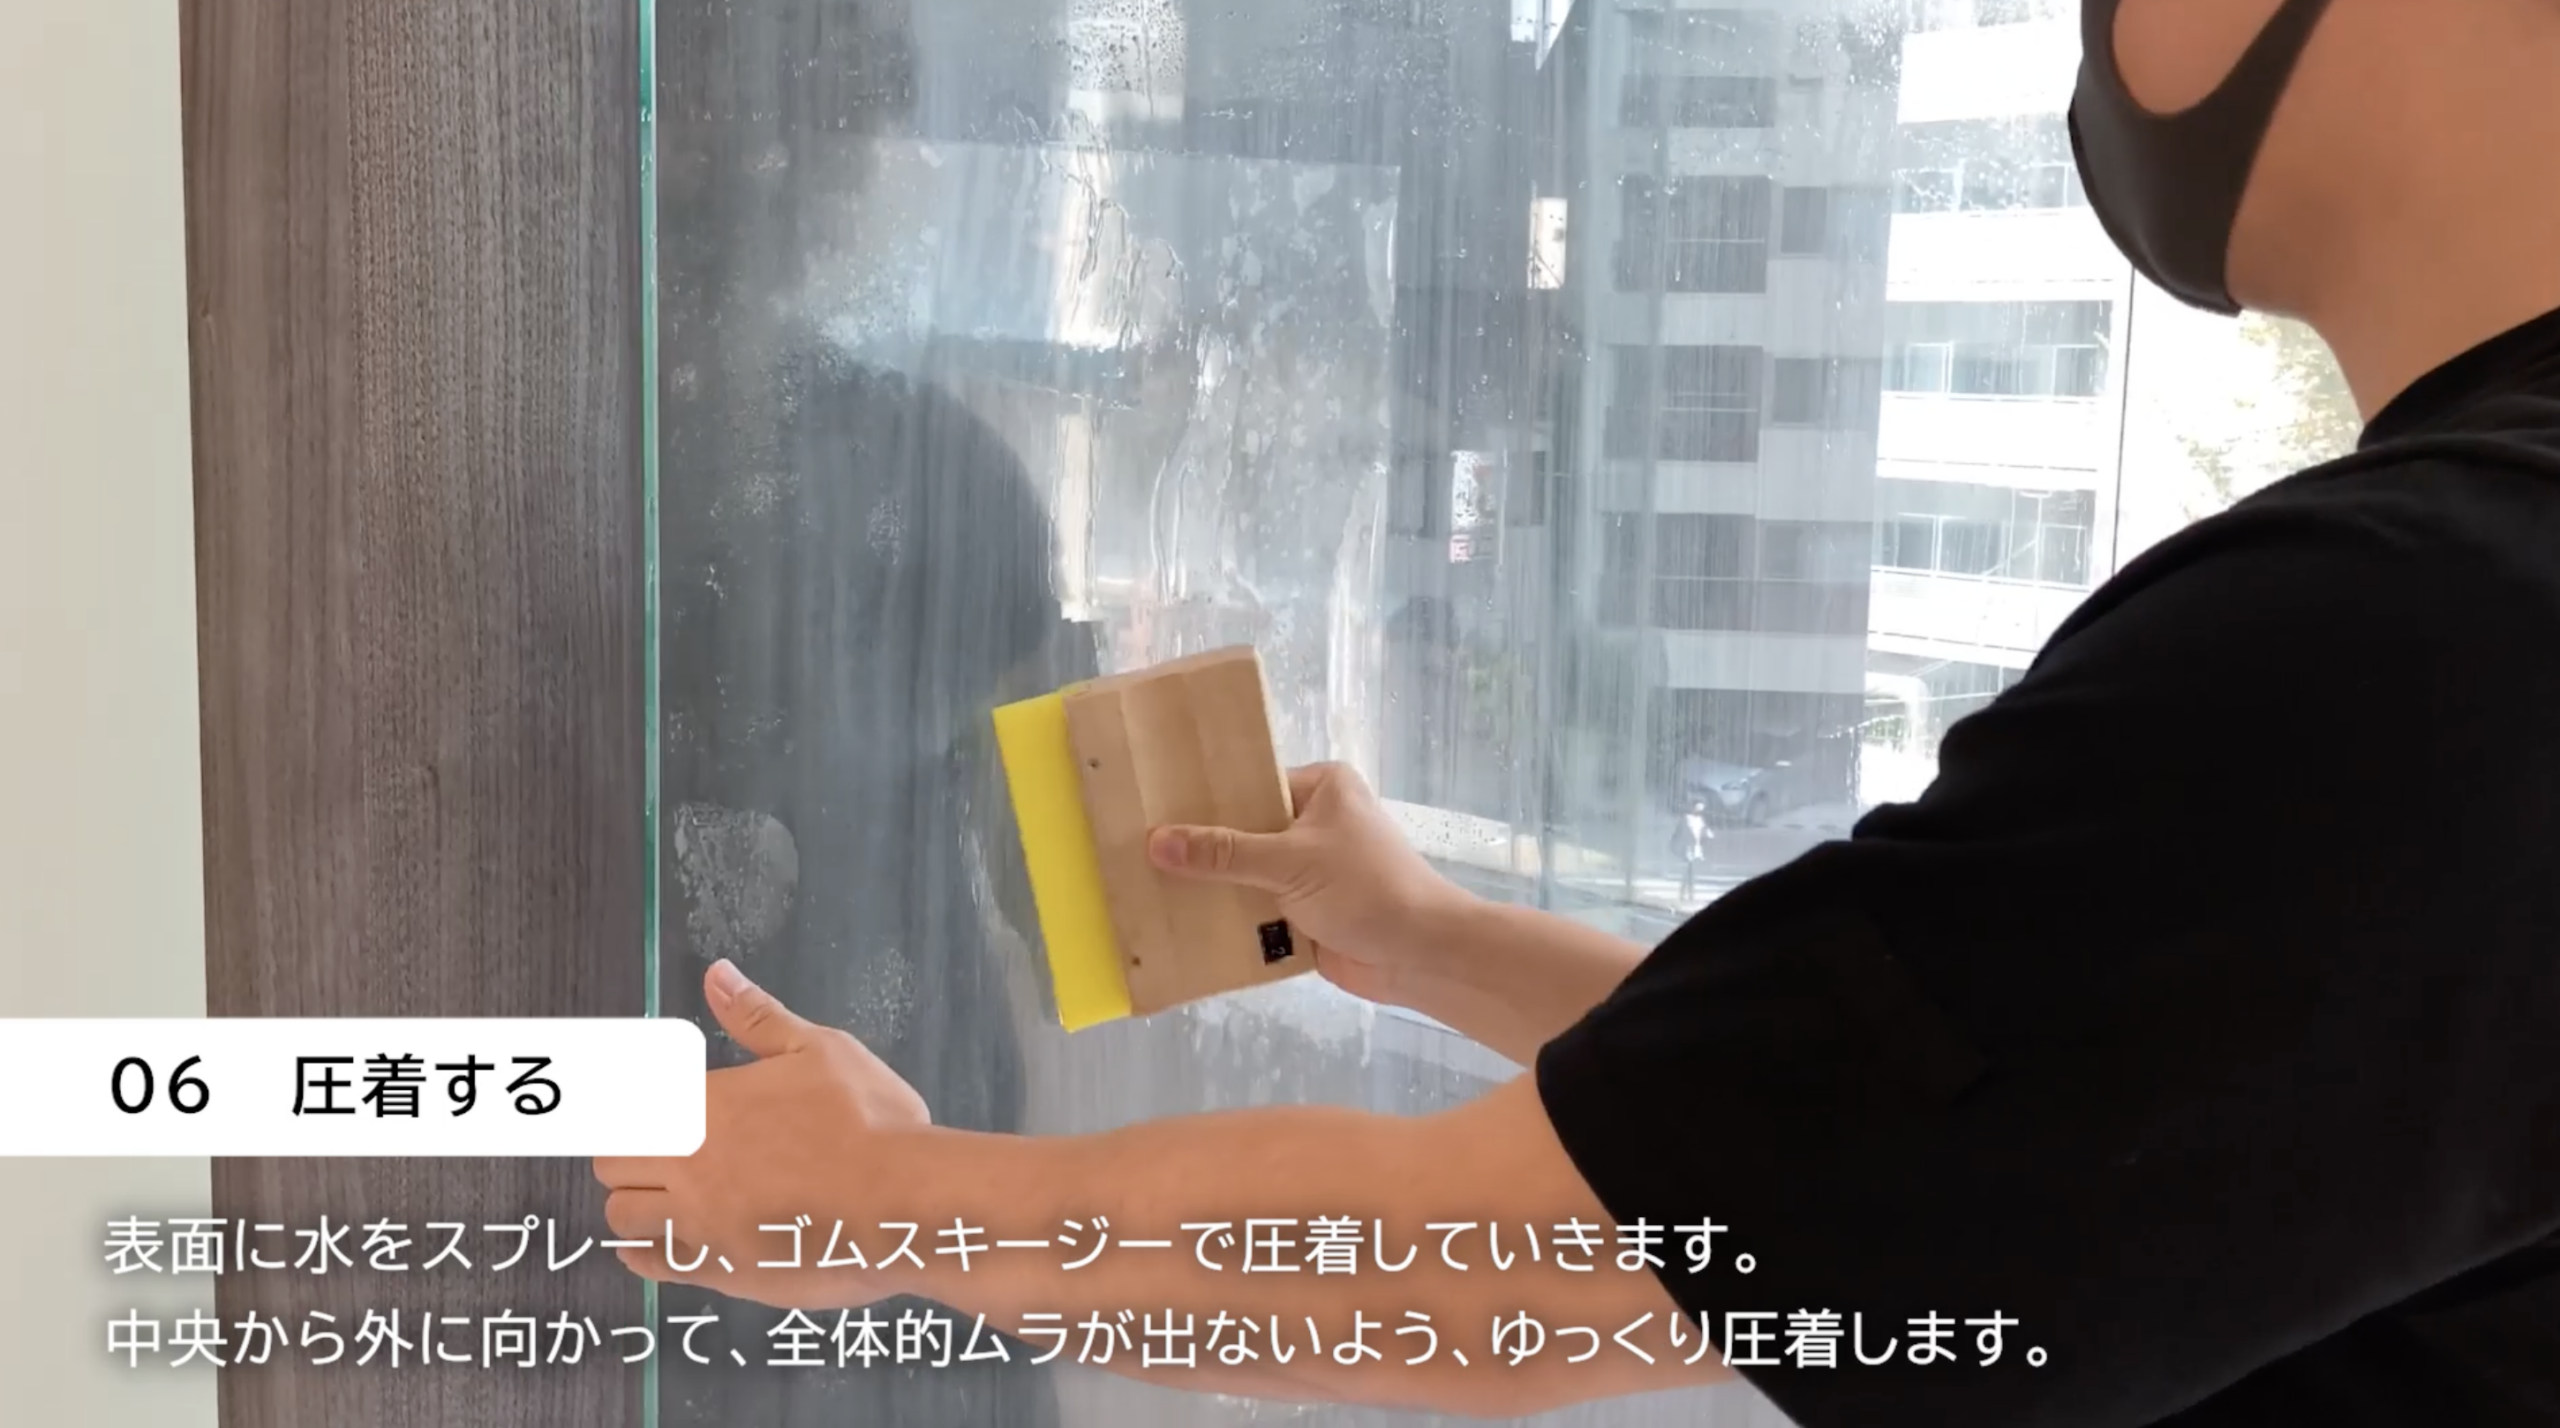
STEP 6: Push Out the Application Solution with a Squeegee
Work from the center of the film outward to push out the application solution and air bubbles. Move
the squeegee with consistent pressure, and press over the same area several times for a clean finish.
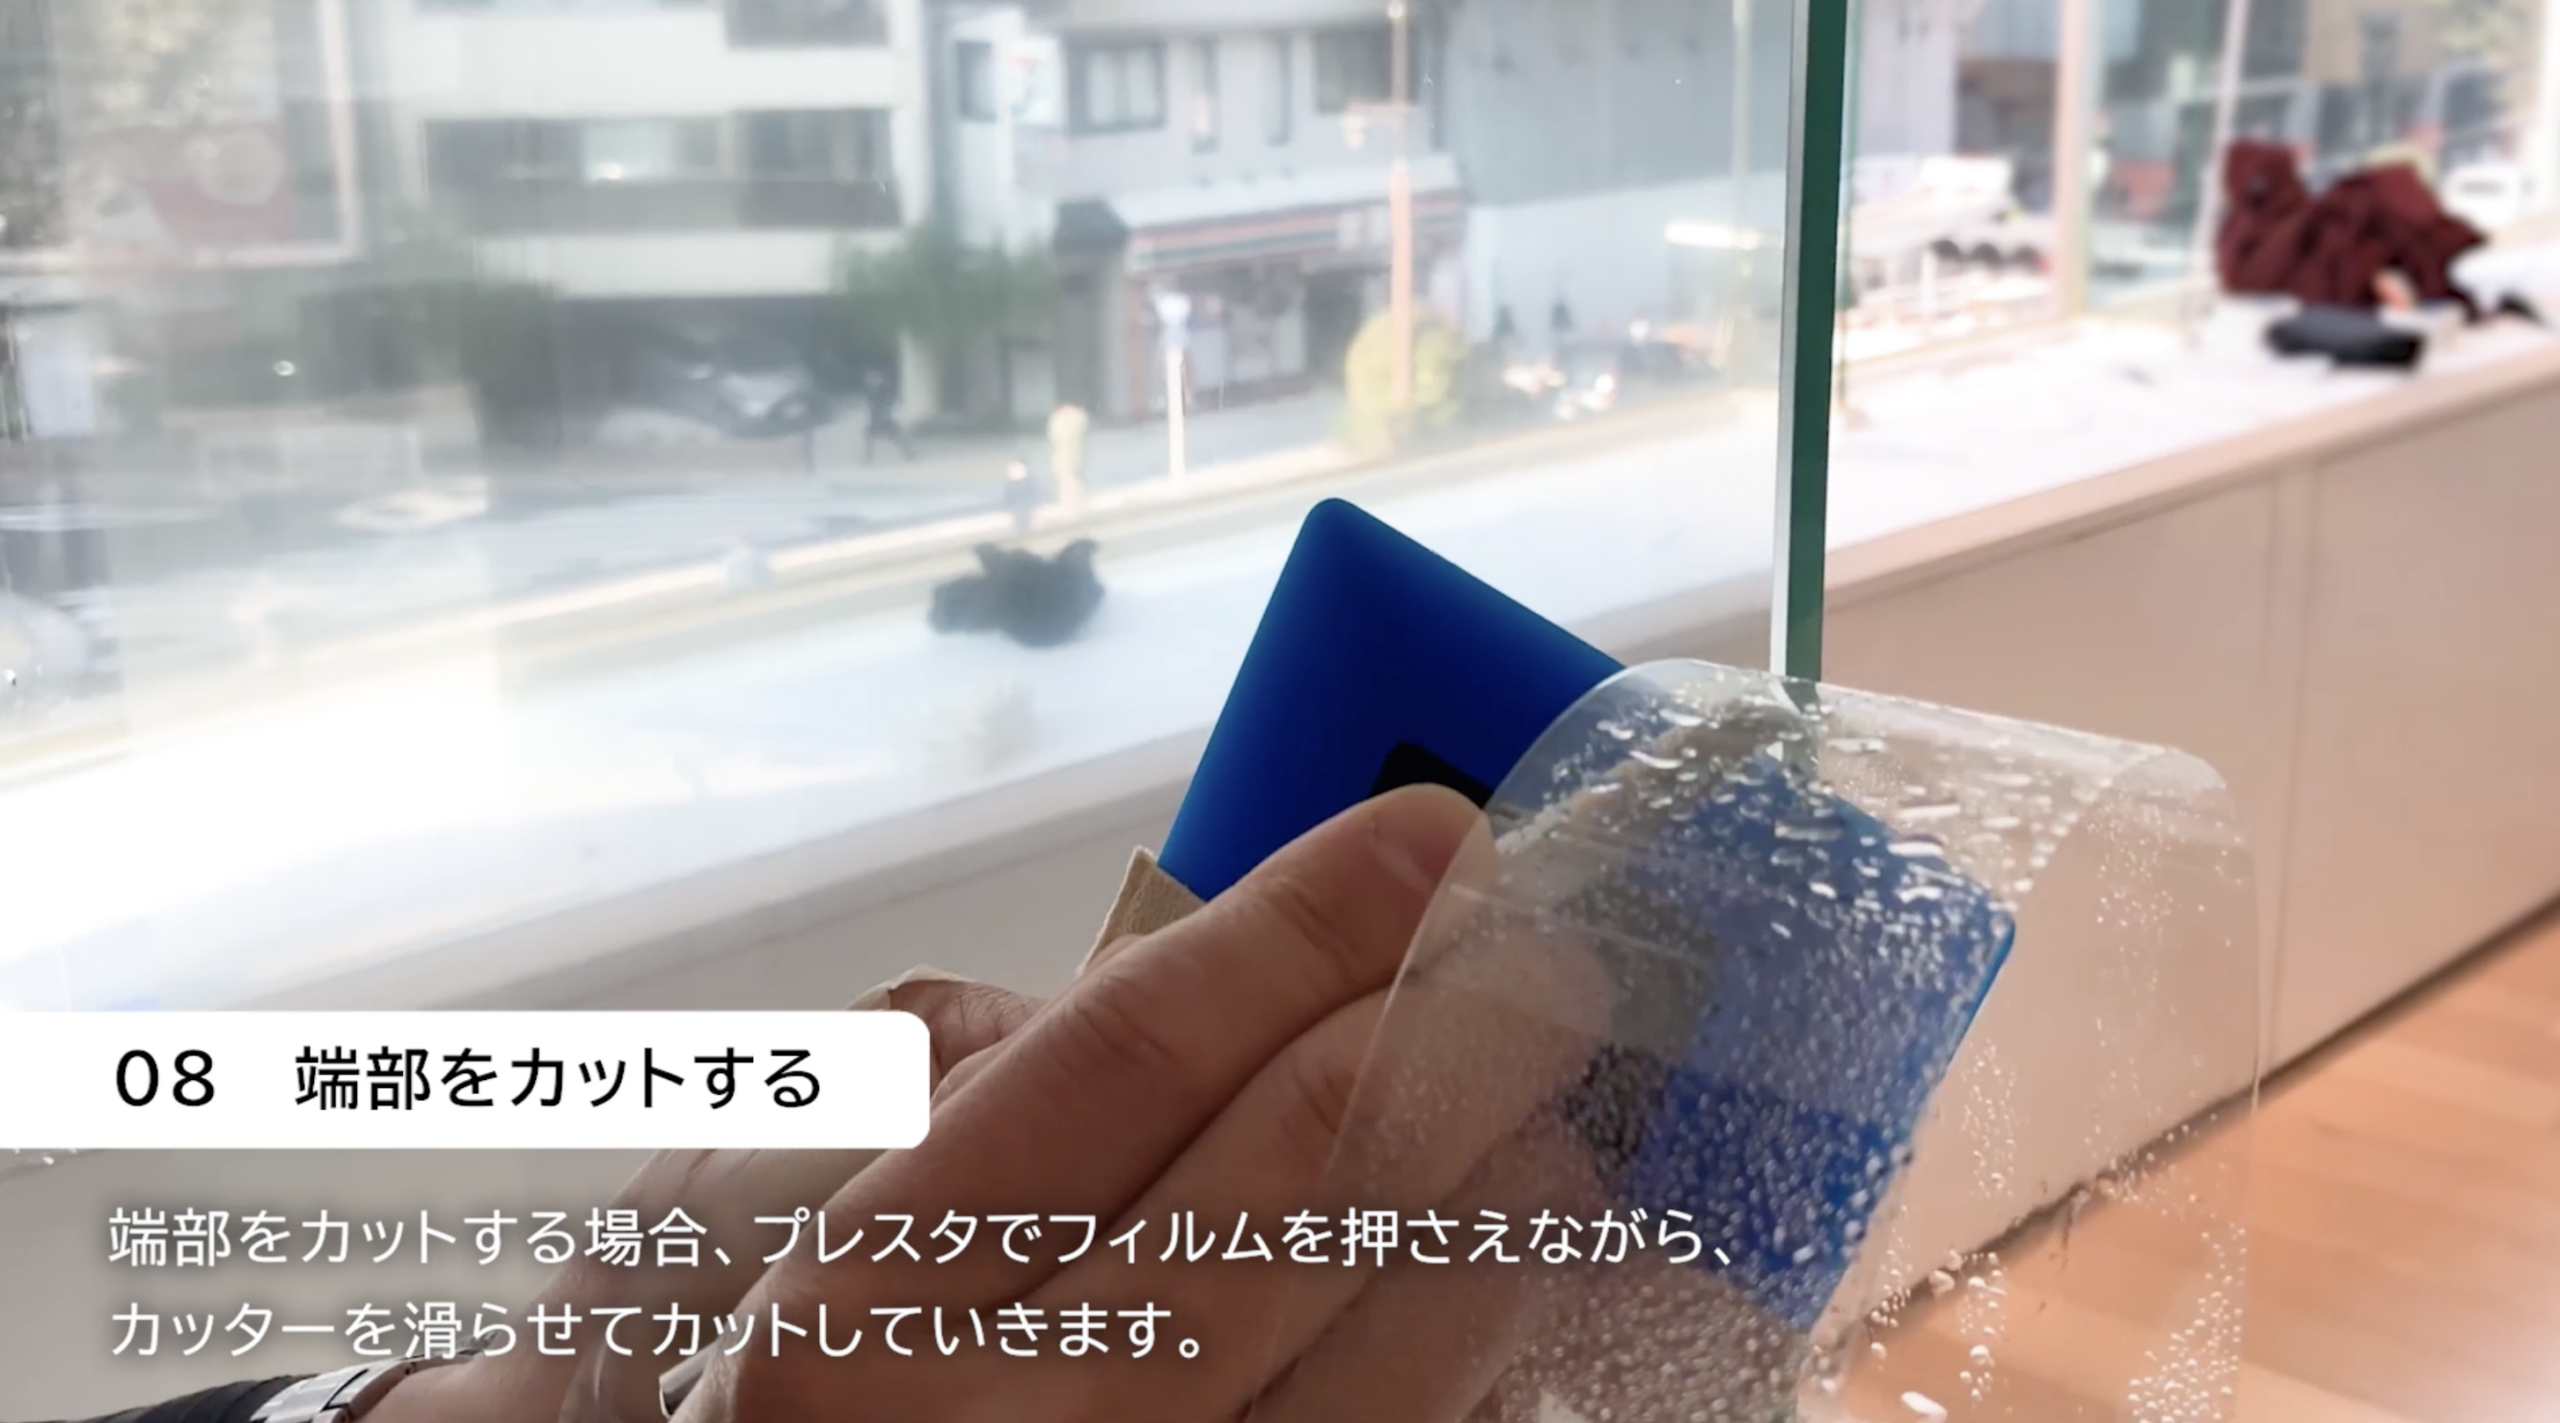
STEP 7: Securely Seal the Edges
Finally, carefully press down all the way to the edges. Insufficient
pressure at the edges can cause the film to lift or peel, so please check this area thoroughly.
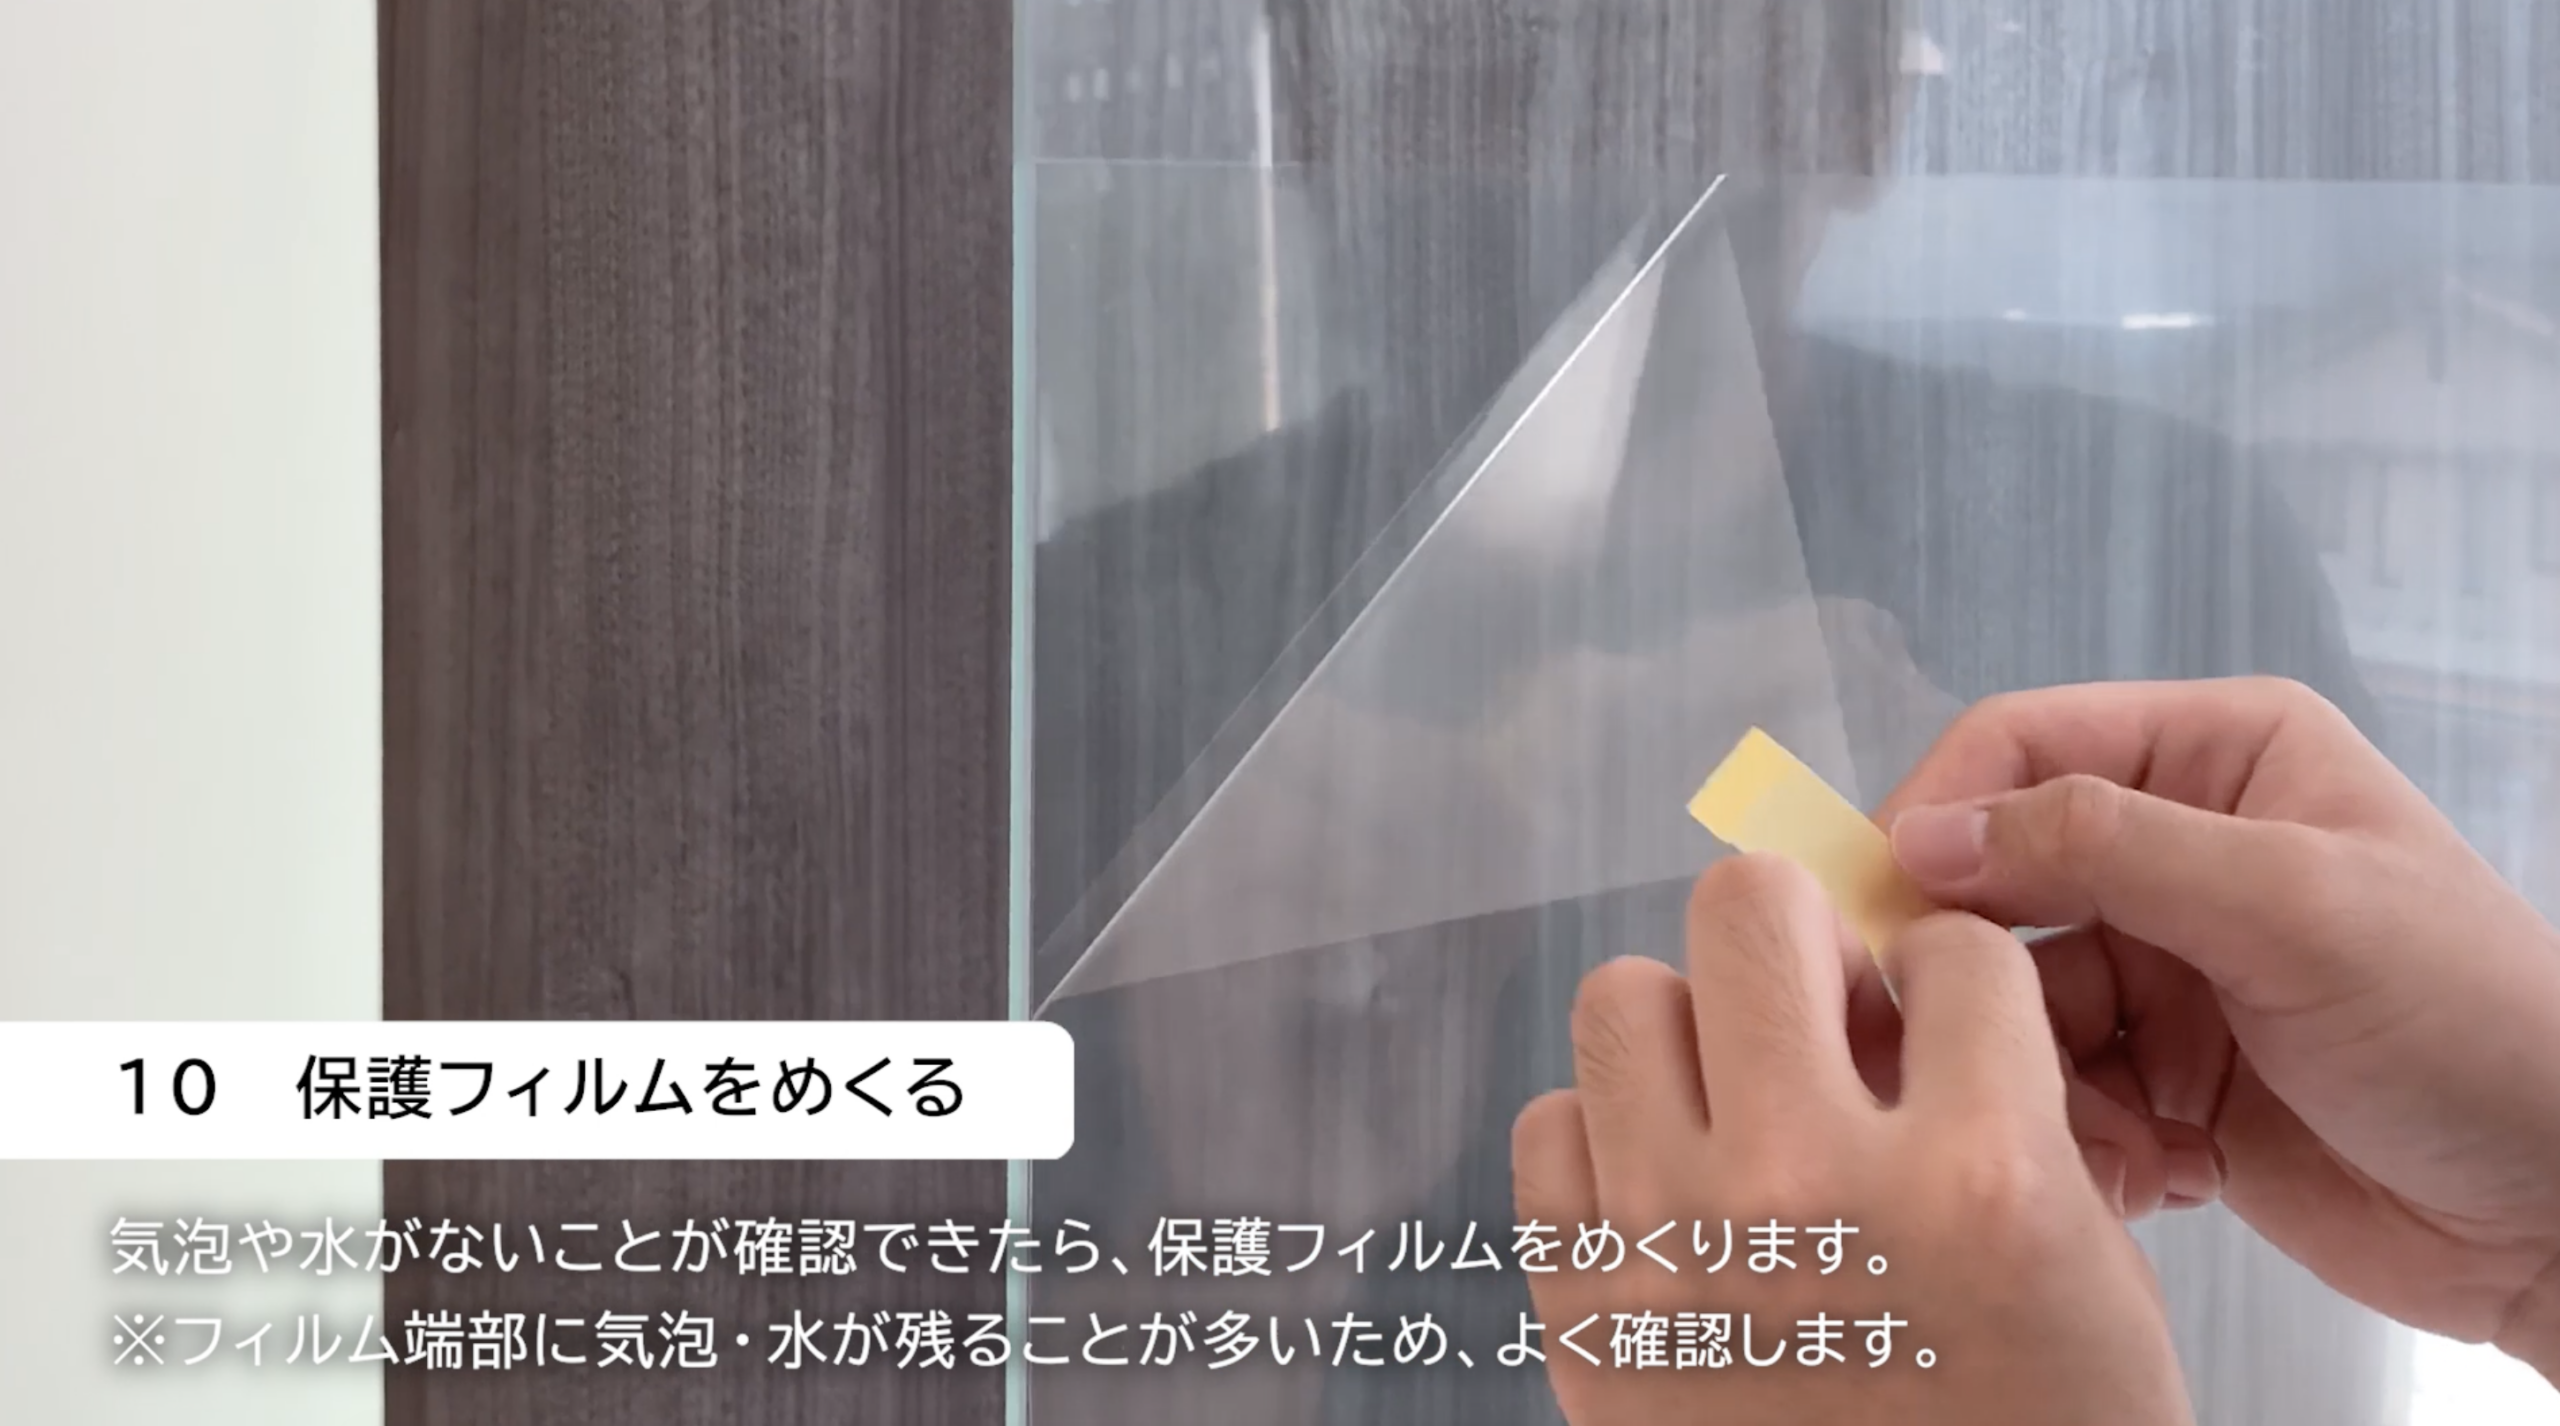
STEP 8: Peel off the protective film to complete the installation
Once the application is complete, slowly peel off the surface protective film.
Finally, inspect the entire surface to ensure there are no air bubbles or lifting.
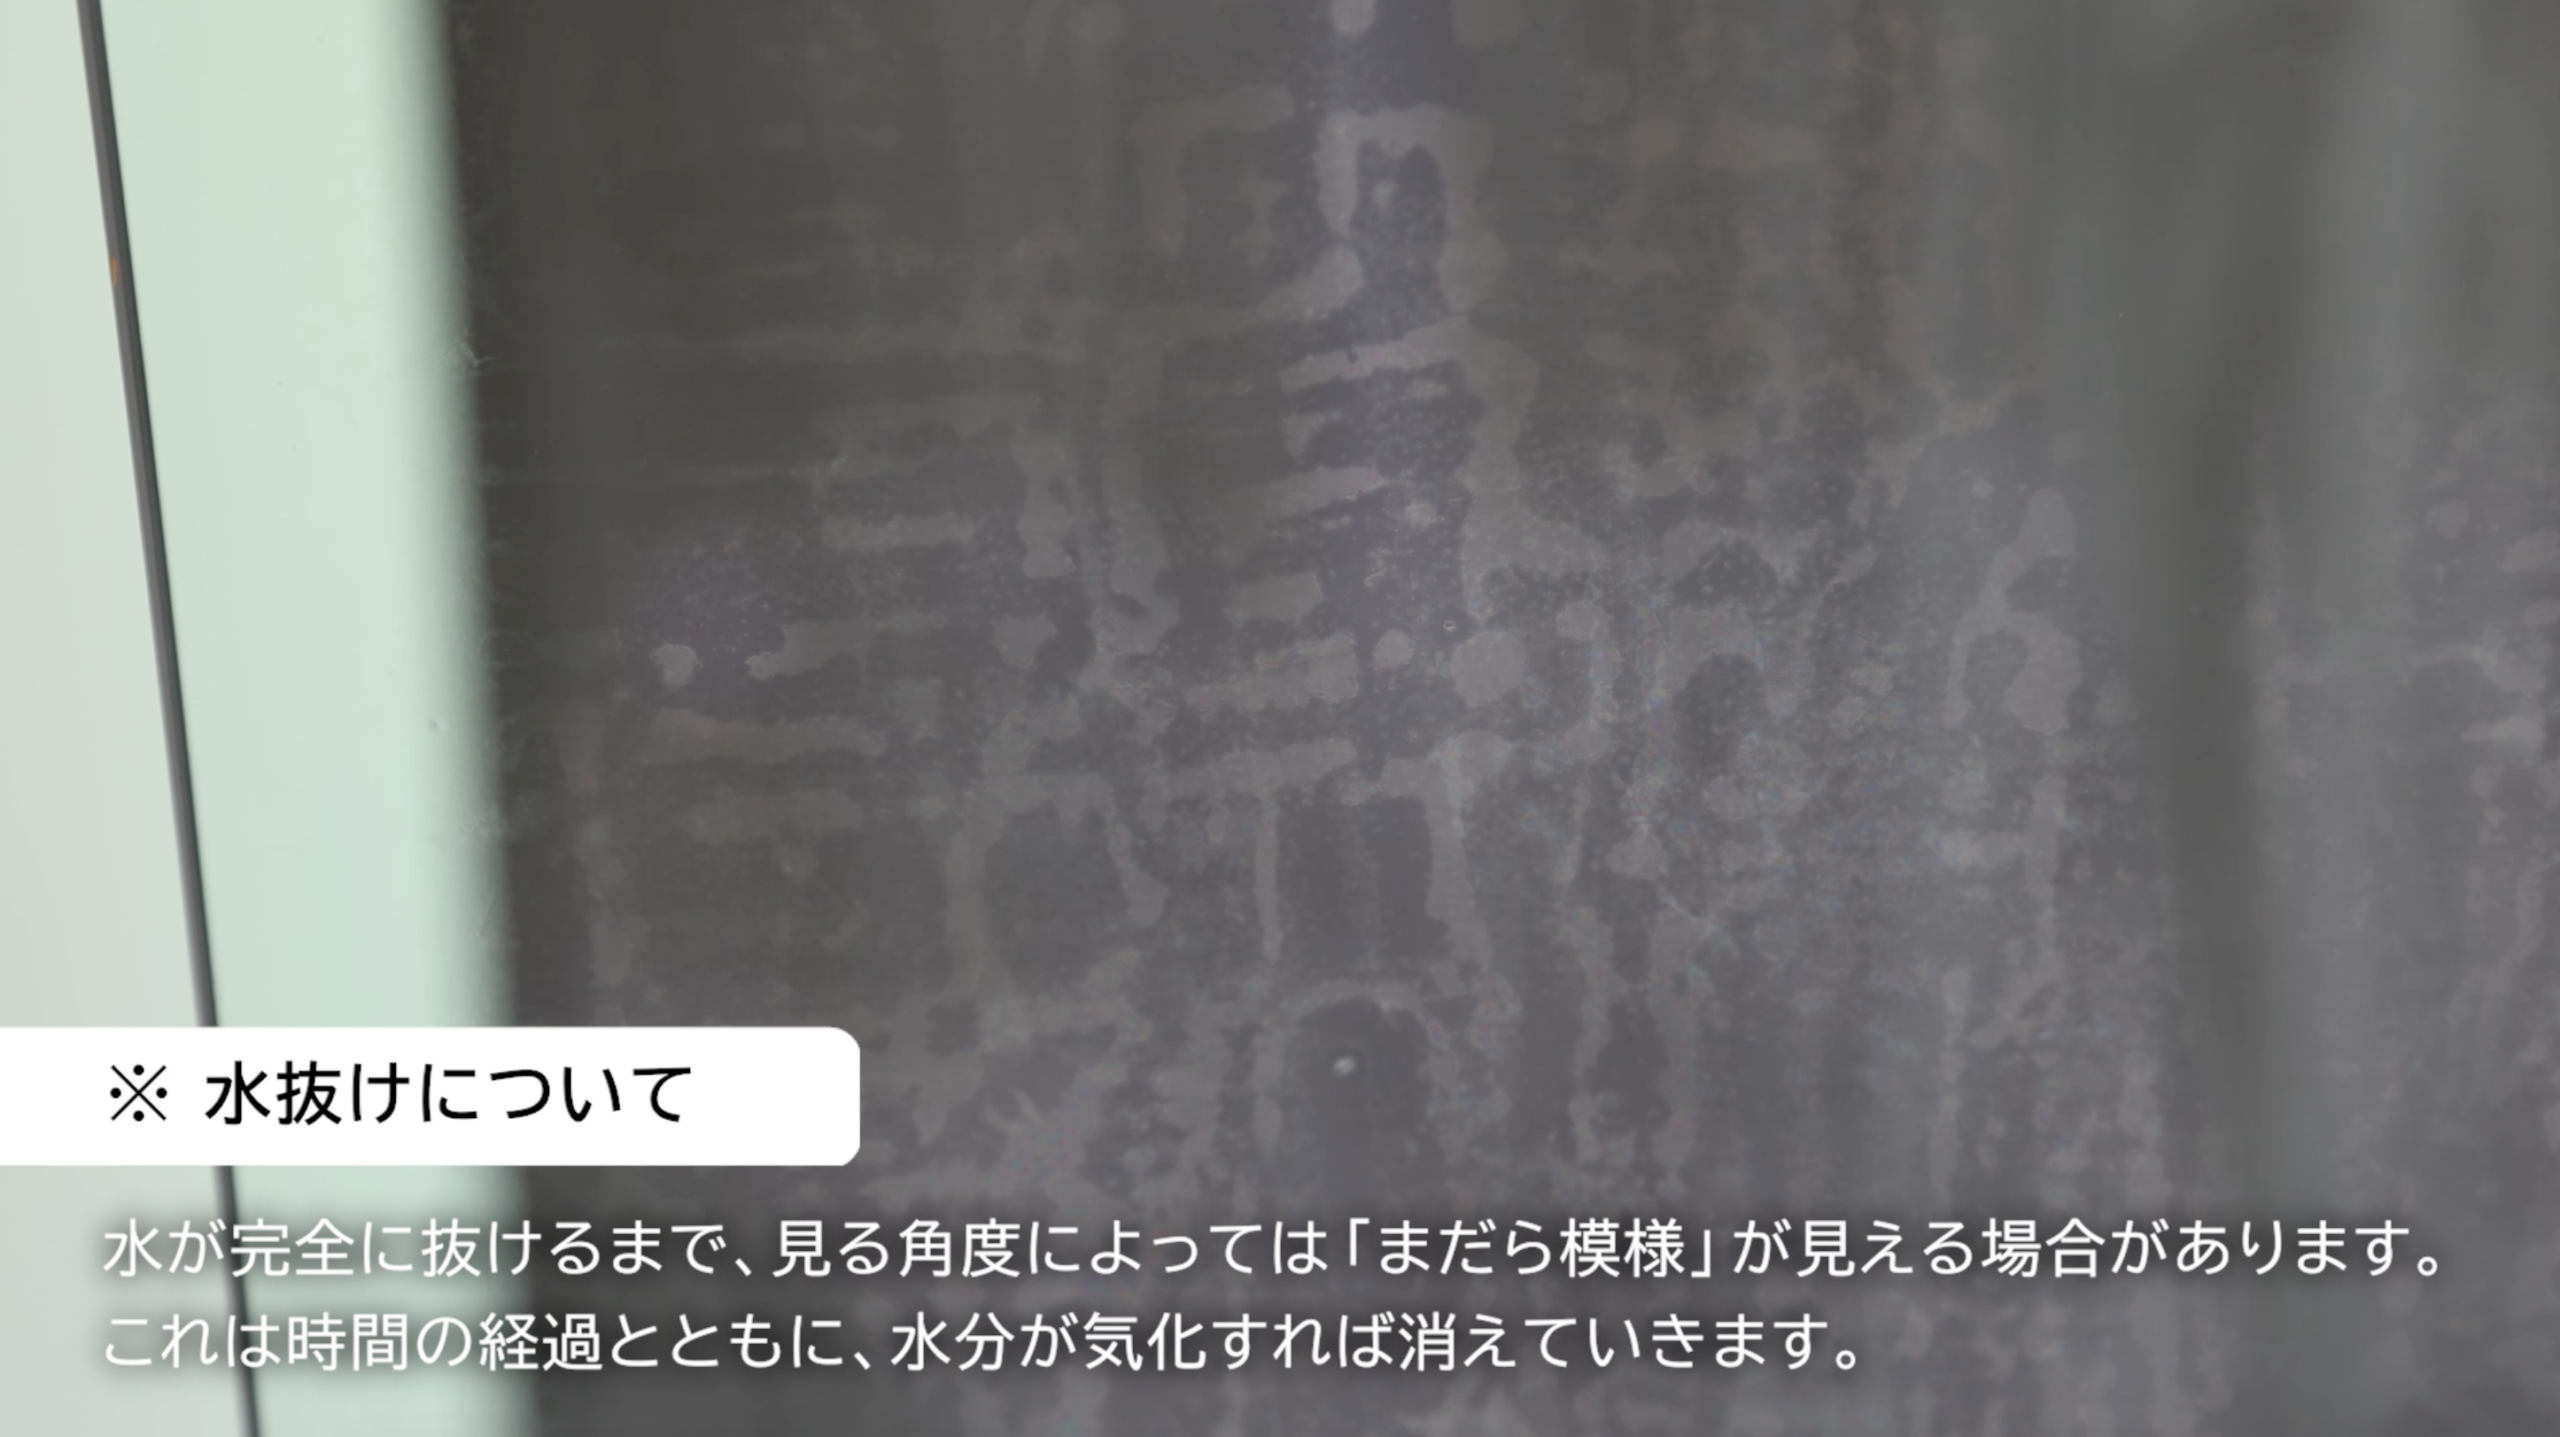
⚠️ Regarding Water Drainage
After the application, depending on the viewing angle, a “spotty pattern” may be visible until the water has completely evaporated.
This is caused by the moisture used during the application and will gradually disappear as the moisture evaporates over time.
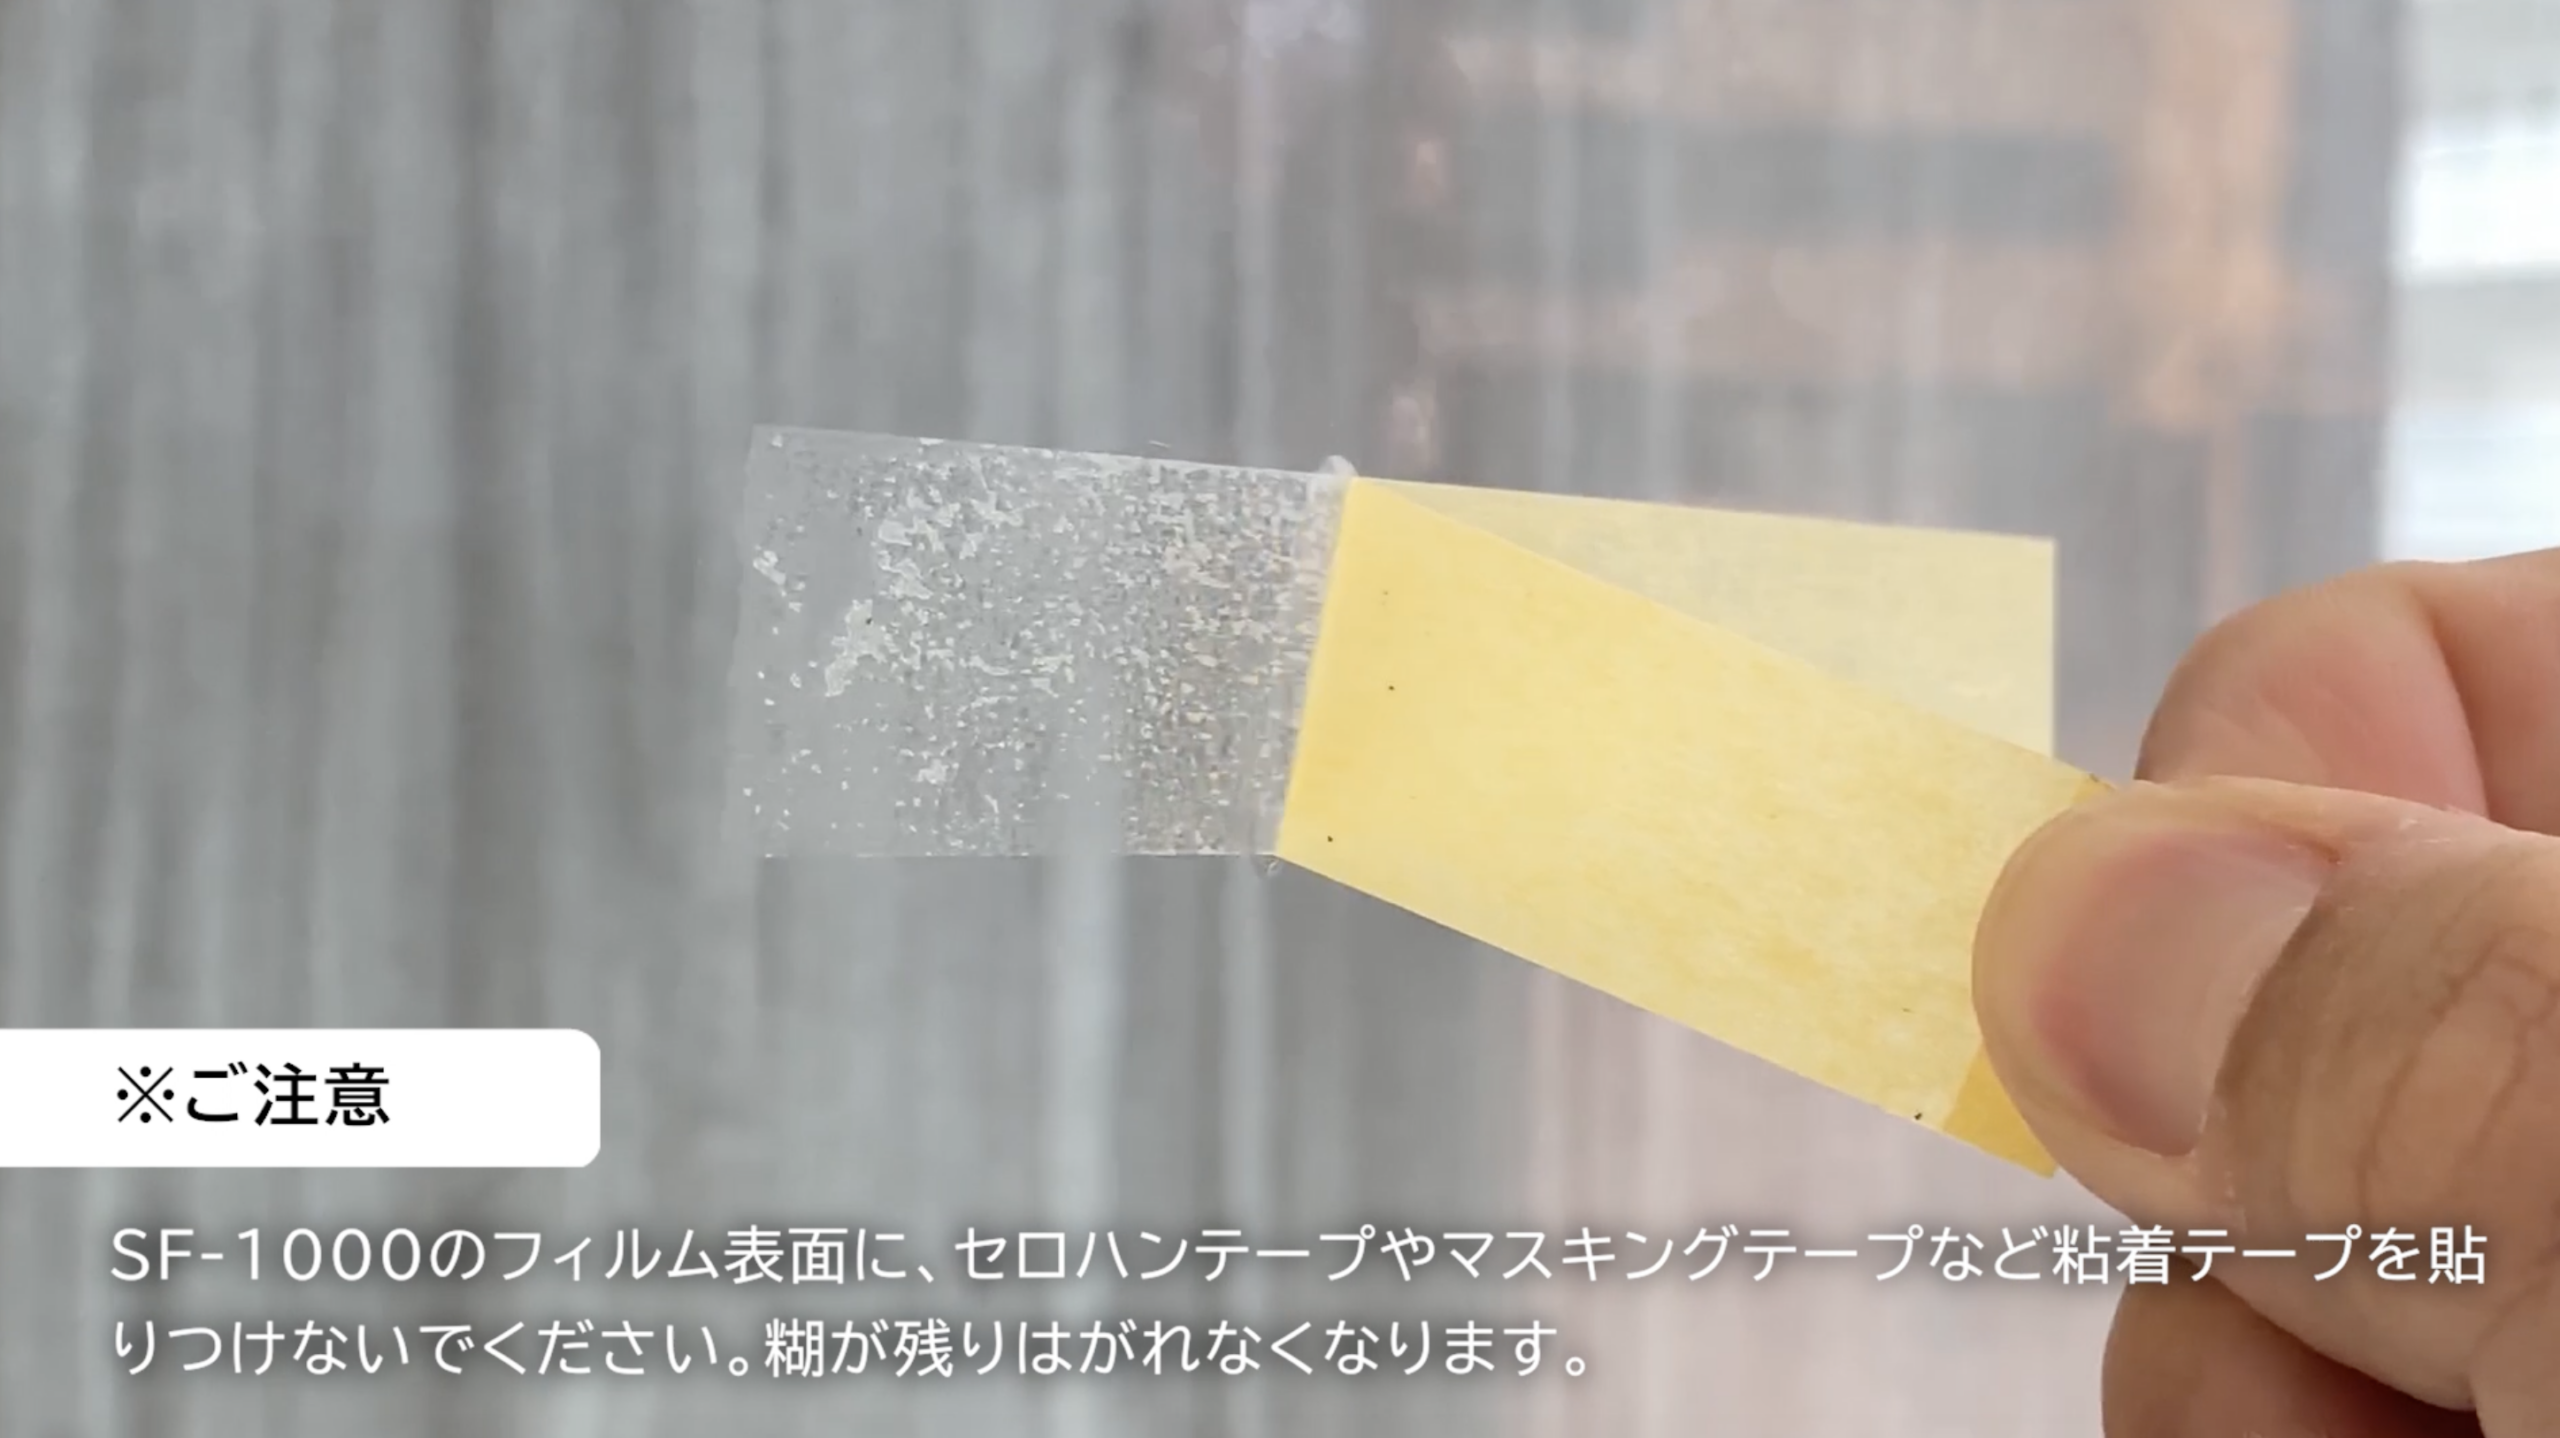
⚠️Important Note
Do not apply adhesive tape, such as cellophane tape or masking tape, to the surface of the SF-1000 film.
If adhesive residue from the tape remains on the film surface, it will be difficult to remove.
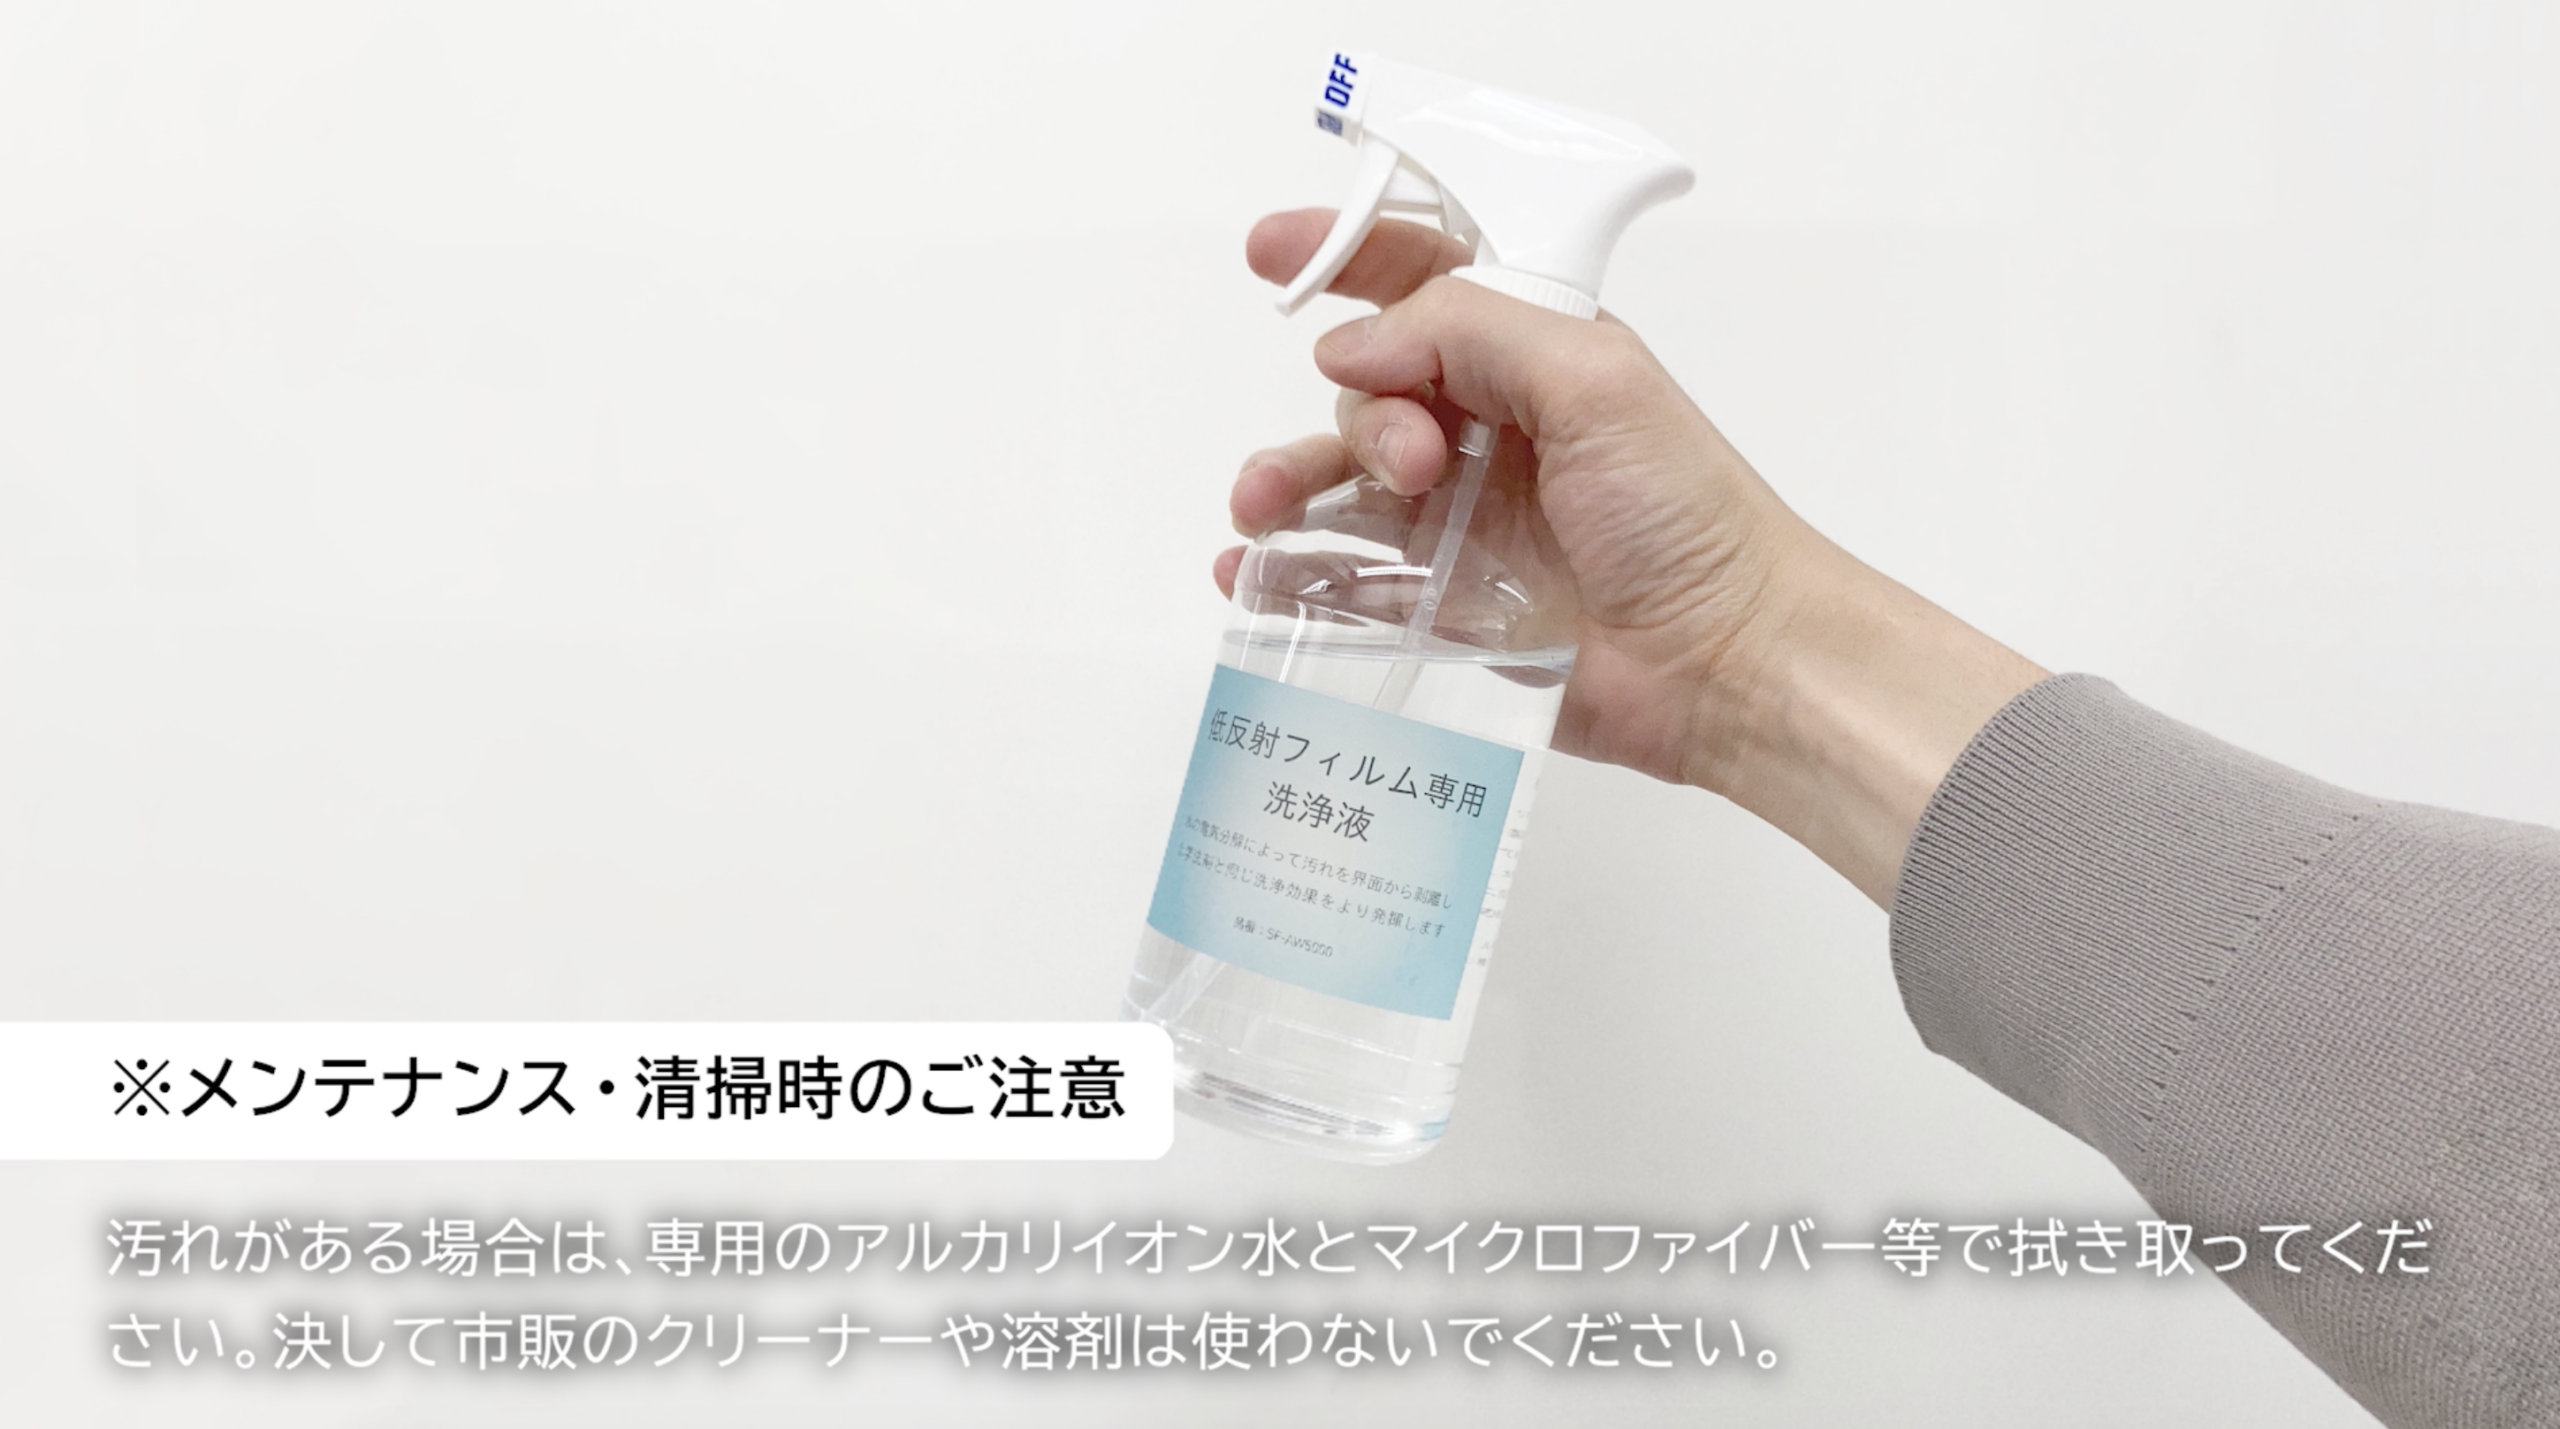
⚠️Precautions for Maintenance and Cleaning
If there is dirt on the film surface, wipe it off using dedicated alkaline ionized water and a microfiber cloth.
Do not use commercially available cleaners or solvents, as they may damage the film surface.
Frequently Asked Questions
Q. Can I apply the film using only water? We recommend using an application
solution to improve the application process.
Q. When should I remove the protective film? Please remove it only after
thoroughly pressing out the application solution and completing the bonding process.
Q. Can I reposition the film once it’s been applied? You can adjust the
position while the application solution is still present, but please avoid repositioning the film as much as possible after installation.